
Last update: 03 April 2023
On this page of The Sinking City game Tipps you will find the description of the walkthrough of the Lost At Sea main case. It’s about finding the missing members of an expedition. Reed will first have to explore the headquarters of the expedition in the city, and then go to where the members of the expedition studied the depths. This will allow you to find an underwater cave. At the end of the investigation, you will have an important choice to make.
- Hotel – first visit
- Search and study the expedition headquarters
- Use the Okakmont archives
- Pier number 3
- Lokking for and questioning Sanders
- Preparing to dive
- Reaching a dive site
- Walking on the bottom
- Explore caves
- Report back to Throgmorton
Hotel – first visit
This case starts automatically after the Lost at Sea investigation. You immediately receive two pieces of evidence – The Lost Expedition and The Key to the Headquarters. The exit from Oakmont City Port is next to the „Under the Keel“ Bar. A cutscene will be initiated. After it, you will go to the Devil’s Reef Hotel) in Coverside.
Look around Reed’s hotel room that you rent:
In addition, you can explore the selected other rooms of the hotel. You will find:
On the ground floor, talk to the hotel owner who complained about the noise. Conversation with this character opens a secondary investigation – Letters from Oakmont.
On the ground floor of the hotel you can find:
After settling all issues, leave the hotel.
Search and study the expedition headquarters
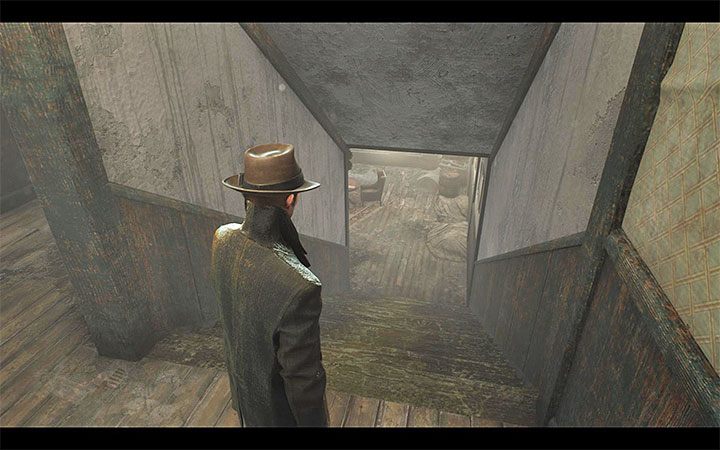
Your current goal is the expedition headquarters but you do not know its exact address. Information about it is contained in the description of the Missing Expedition evidence. You have to get to the Northern part of Coverside, to the intersection of Asher road and Hubert Avenue. This is an area short distance North-East of the Oakmont Police Department.
Expedition Headquarters in the screenshot above. You can’t get there right away because the road crosses the flooded streets of the city. Do not jump into the water, just use any boat to swim to the neighboring region.
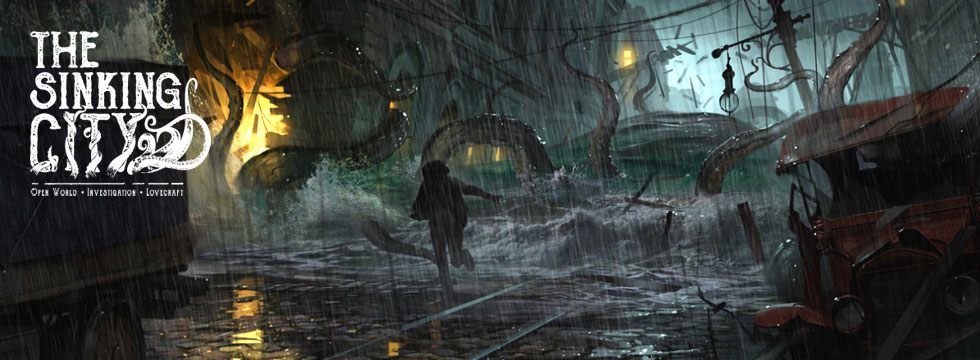
Use the key to open the door and start your investigation:
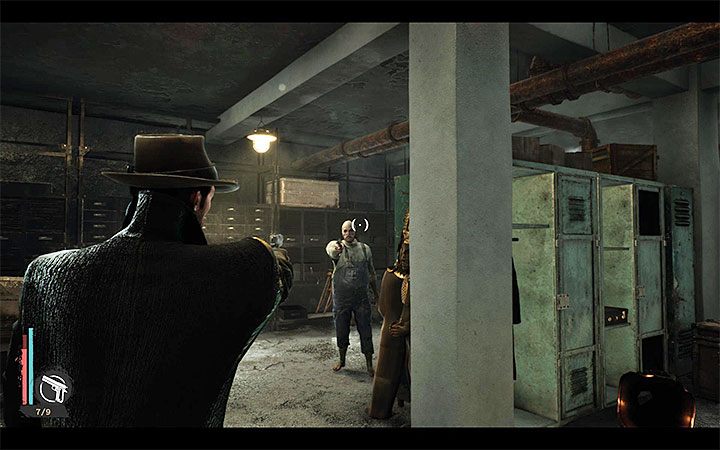
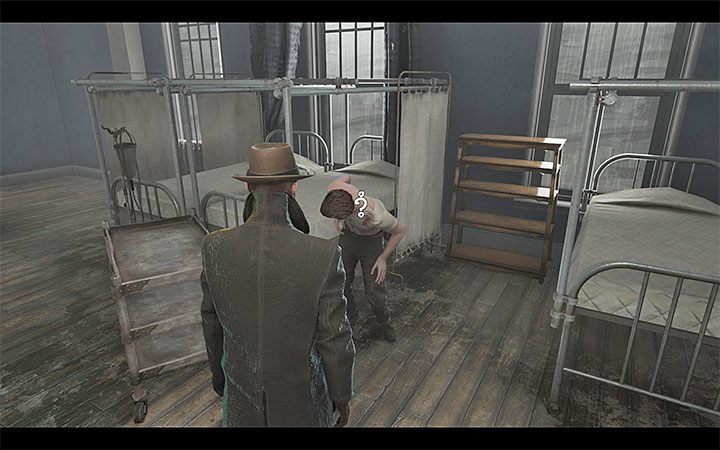
Go to the secret area and go down to the basement. Beware of one enemy with a weapon, try shooting him down fast. Continue the exploration:
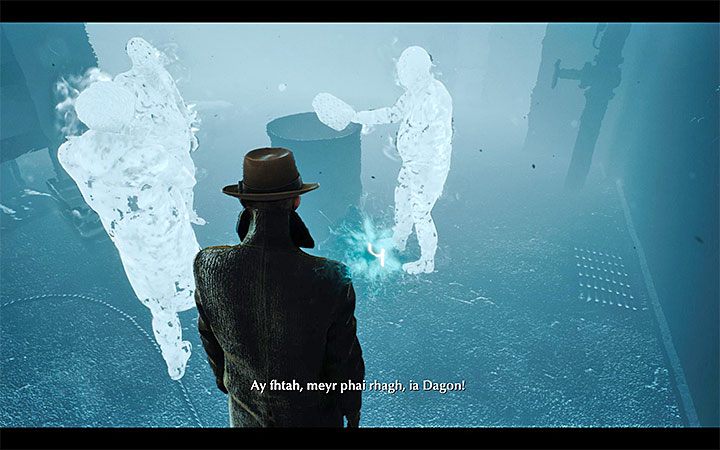
Go back upstairs. You have to perform a new retrocognition, so step into the blue cloud and visit all the places marked by the game. Correct sequence of events:
You will find that several people broke into the building in order to plunder it and set fire to the documents (The Pillaged Headquarters). You should complete this location in 100% by now.
Open the Mind Palace. Connect clues Cargo Manifest) and Burned Documents – you unlock deduction Burned Newspapers .
Use the Okakmont archives
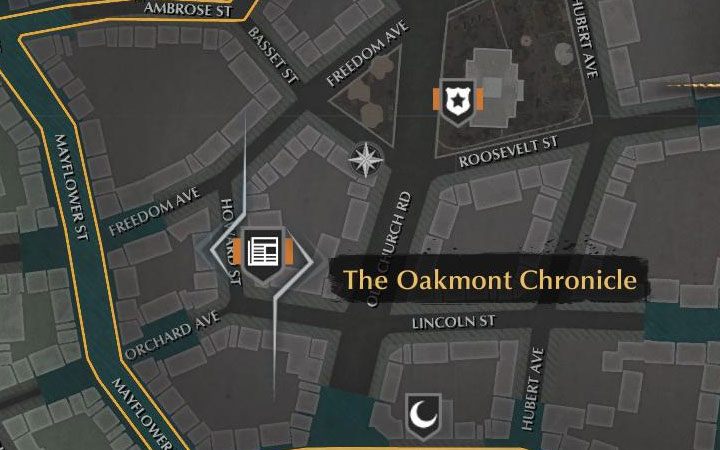
The next step can be quite troublesome, for you have to determine which ship did the expedition members use to go to sea. You will do this by finding an advertisement of the ship for rent. You must go to the Oakmont Chronicle headquarters. The headquarters of the newspaper is located in the Western part of Coverside and is always visible on the map.
When you arrive, you should first talk to Helen Bland. She recognizes Reed, and you can agree to give her an interview. You unlock the Special Edition! trophy! (Extra! Extra!).
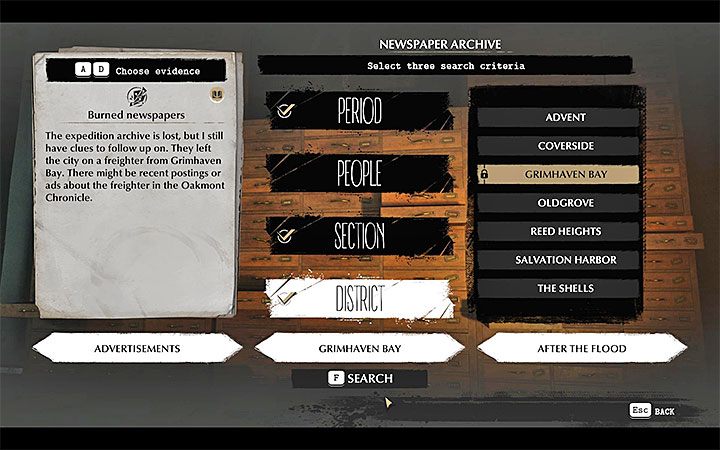
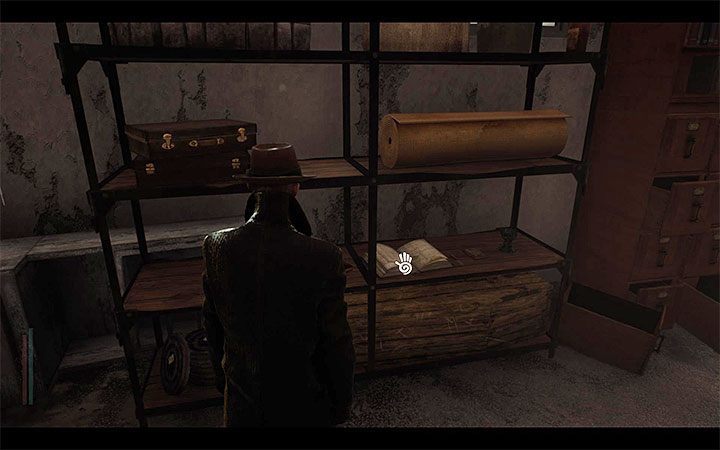
Go to the archive in the building of the local newspaper and interact with it. This is another new kind of activity. Your task is to select the correct piece of evidence for analysis and then determine the three correct search criteria.
For the needs of this puzzle:
The correct setting is shown in the screenshot. You will find Ship Freight Advertisement.
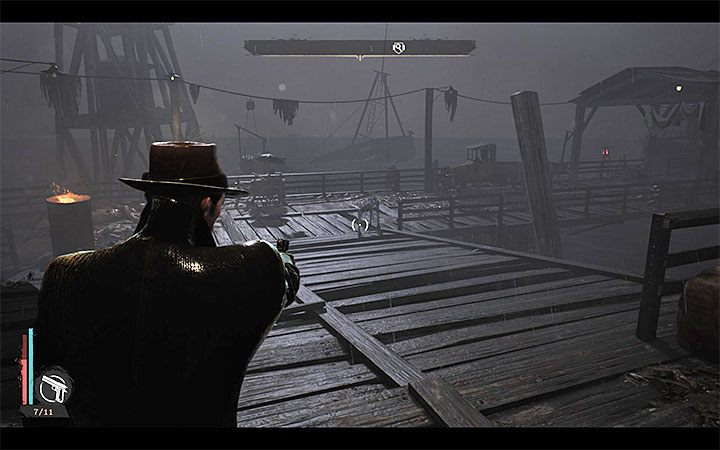
Pier number 3

The purpose of the trip is Pier 3 in the Oakmont City Port. You have to go back to the Oakmont City Port in Grimhaven Bay, so use the boat (also try to constantly discover new points of fast travel).
Screenshot showing the destination. After reaching the Pier Number 3 start by talking with a man from the booth at the entrance to this location. Exhaust all dialogue options, and you will learn about Sea Creatures.
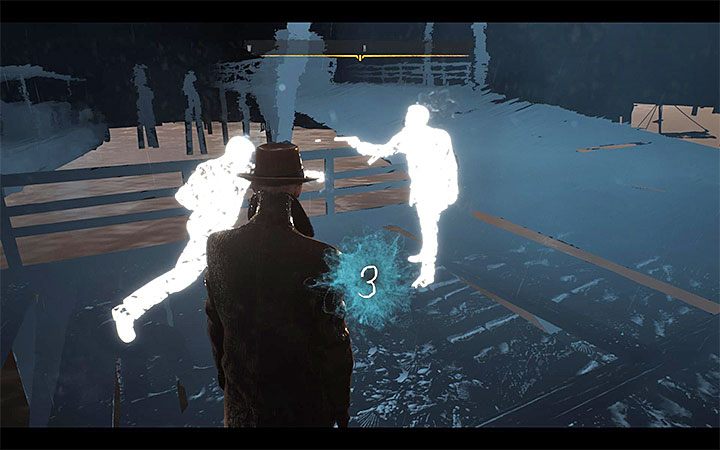
After coming to a new place, be careful, because in this area you will meet a few small monsters. Try to deal with them all. There are minor loot containers in the area with which you can make ammunition for one of your guns (pistol / revolver) if necessary. You may also encounter ready-made ammunition.
After you secure the perimeter, explore it. You can find on the pier :
Go on board the ship and find more tracks:
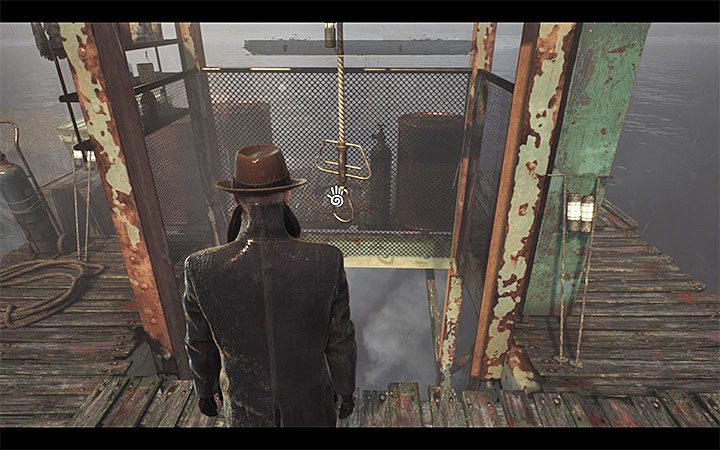
Leave the deck and get to the blue cloud to start a new retrocognition. Discover all of these areas. Correct sequence of events:
You will establish (Events on the Titania) that the crew of the ship went crazy and that one crew member managed to escape.
Go back after that to the man in the booth and tell him that the pier is safe. Ask him about Sanders, and you’ll learn that he escaped. You will complete this location in 100%.
Lokking for and questioning Sanders
Open the Mind Palace. Connect the clues The wounded sailor and Sanders has fled – you unlock deduction Wounded Sanders.
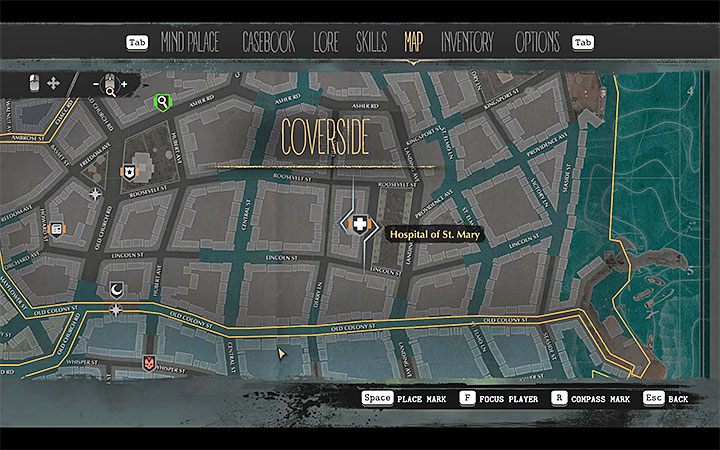
The next step is not an obvious one. You need to think about where the wounded Sanders could go – the answer to this question is the Hospital of St. Mary) in Coverside. Take another boat trip to get there.
Upon arrival, talk to Dr. Grant at the front Desk. You can additionally agree to participate in experimental therapy and unlock the First, Do No Harm trophy. Optionally, you can start the Field Research side investigation. For the purpose of the current investigation, ask the doctor about patients with an axe wound.
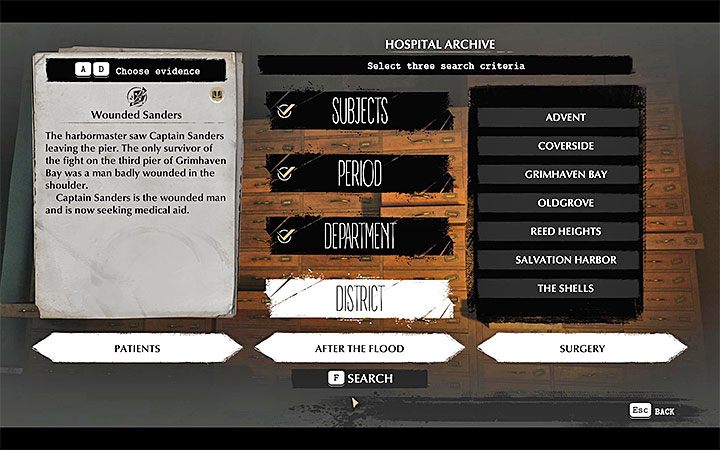
You have to go to the archive room and proceed to the already known kind of puzzle.
The correct setting is shown in the screenshot. You will find files title Grimhaven Bay, wounded. The person of interest to you from this document will be Joseph Willow.
Go to hospital level 3. The wanted captain Sanders. Ask him all possible questions. You unlock the Captain Sanders‘ Evidence and the Diving Suit Factory location.
Open the Mind Palace. Connect the clues The crazy crew and The wounded sailor. You unlock the deduction The Titania Incident.
Preparing to dive
You will get two new goals. The first is to find the logbook. It’s simple. Go downstairs to hospital level 0. Ship’s Log – Titania will be on one of the shelves in the storage room. In addition, you will unlock the Expedition Anchor Point. You completed hospital in 100%.
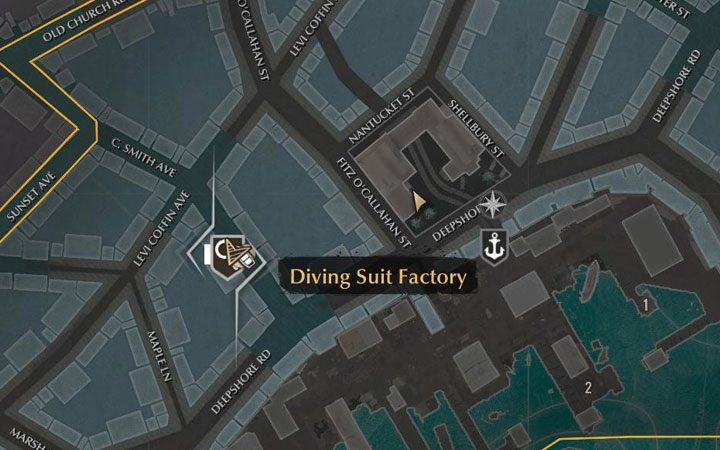
The second new goal is to purchase diving equipment. It is necessary to analyze one of the latest evidence to find the Diving Suit Factory. It is located at Grimhaven Bay. You have to get to C. Smith Avenue in the Western part of the district. In particular, we are talking about the fragment between Levi Coffin Avenue and Deepshore Road. Screenshot with factory location
You have to get to the factory by boat and dock next to it (image above) as all the surrounding streets are flooded. Expect encountering small monsters inside the factory. Explore the factory after securing the perimeter. Here, you can find:
In addition to the costume you get the Harpoon Gun and the Flare Gun. At this point, you should have completed this location in 100%.
Reaching a dive site
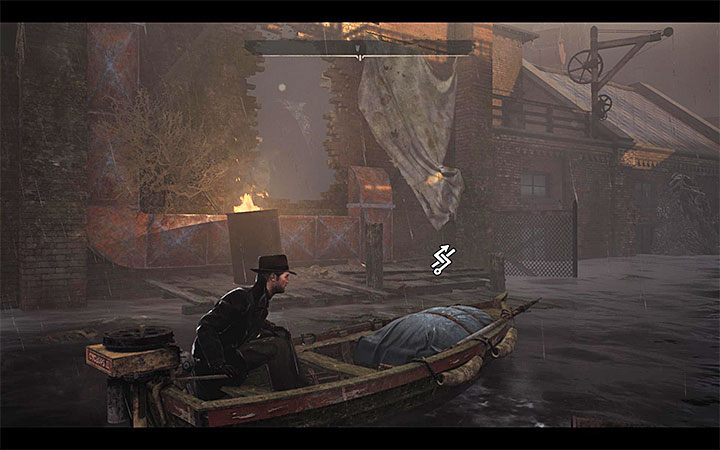
You need to get back to Pier N3 in Grimhaven Bay. Boat to Devil’s Teeth has appeared there – the small boat docked next to the previously investigated ship.
After interacting with the boat, you are moved immediately to the Devil’s Teeth. Follow the linear path to the place where you can use the hook and dive.
Walking on the bottom
Once you reach the bottom, you have to move from one lamp to another. The hero has flares but you don’t need to throw them. The lamps are always visible in the distance. On the way, inspect the stone with grooves. Reach the edge and jump to the lower part of the bottom.
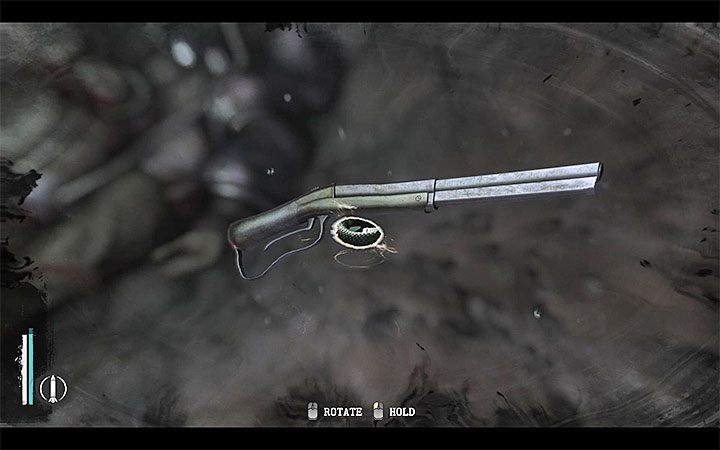
You will find a weapon. Pick it up and place it in the same way as in the picture above. Activate the Mind’s Eye to see the past.
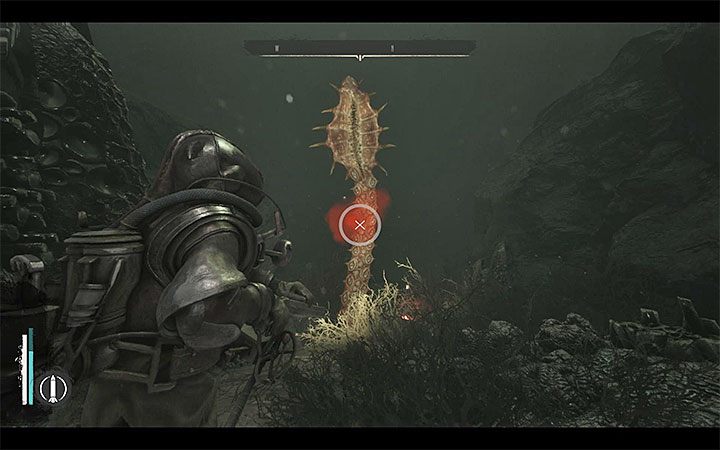
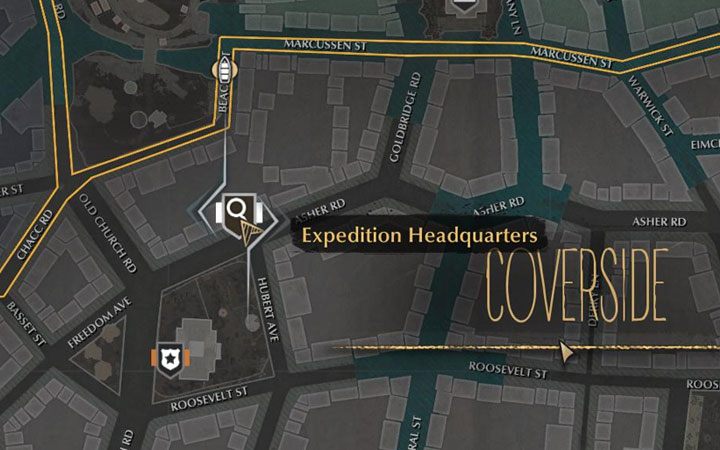
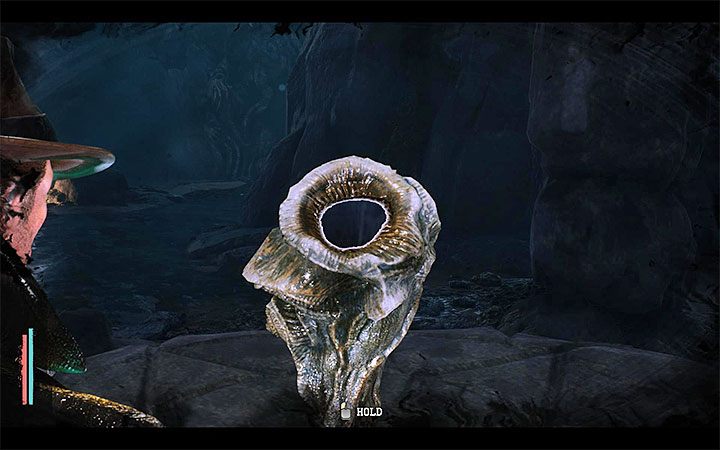
Watch out in the place from the picture. A monster’s tentacles will appear there. Use the harpoon (select it from the drop-down menu) to wound the creature and then quickly move to this place.
Head towards the light. This is the entrance to the underwater cave – you can explore it after removing the suit.
Explore caves
In the cave, you will find living and dead sailors. Careful exploration is advised:
Talk to the sailor at the altar. You can immediately open the Palace Mind.
Stay close to the altar. Examine it and use the Mind’s Eye. You will see a vision of a woman holding an artifact. This is a new postcognition. Go to the blue fog and discover all the interactive points. The correct sequence of events:
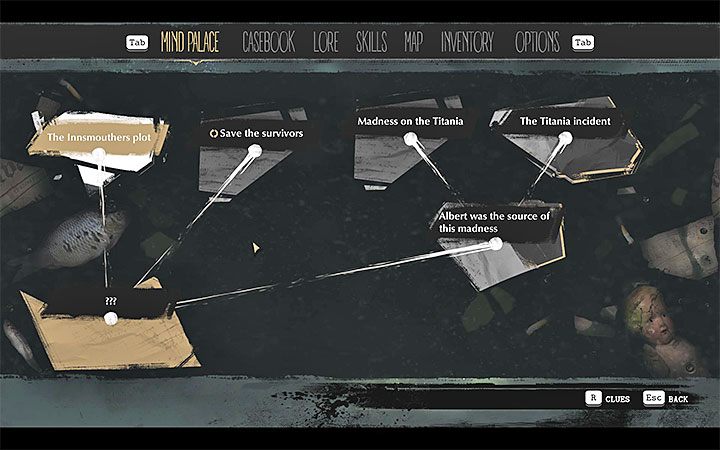
You determine that the expedition found an artifact – Seal. A group of Innsmouthers attacked the members of the expedition (The Innsmouthers‘ Attack), kidnapped them and stole the seal. After that, the cave should be explored 100%.
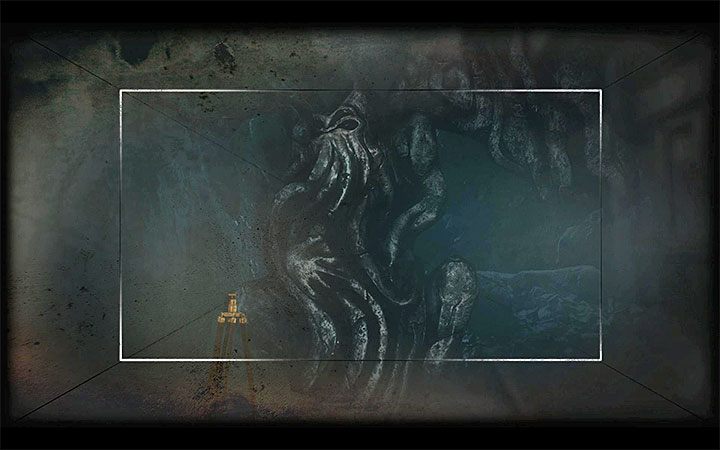
Open the Palace Mind. Connect clues – Burned documents and The underwater artifact. You unlock a new deduction – The Innsmouthers plot. Select the last question marks from the Palace Mind screen (see the picture) to unlock Save the survivors or Abandon the survivors deduction. Return to the suit to get to the surface.
Report back to Throgmorton
The hero will again be moved to the Devil’s Reef Hotel. Take the opportunity to unlock the second log entry (My Diary, Part Two). Now, you have to go to the Throgmorton Manor, located in the southern end of the Oldgrove district. The location is now visible on the map.
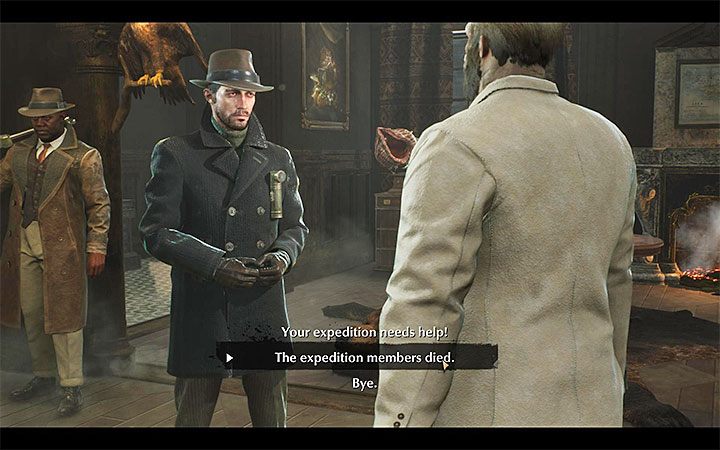
As soon as you enter the estate, start a conversation with Robert Throgmorton. You have to make another choice. You can choose from two options:
Regardless of which option you choose, the case is over and you will get rewards – XP, ammo, hand grenade, foot trap.
The game starts a new main case – Quid Pro Quo. In addition, you can start a new side case – A Delicate Matter.