
Last update: 02 July 2019
On this page of our Tipps to The Sinking City we have prepared a walkthrough of Into the Depths main case. This is the last investigation within the main storyline, and it leads to the place where you choose the final ending of the game. But before that happens, Reed must find and examine three monoliths to get the missing pieces of the Seal.
- Preparations in hotel
- Central Monolith at the Church of St. Michael
- Coastal monolith
- Dive and search for the second seal fragment
- Monolith at the railway station
- Exploration of Stone Worshippers‘ Residence
- Return with full Seal to the Central Monolith
- Last dive
- Surviving hallucinations
Preparations in hotel
This case begins automatically after the completion of the Flying Phoenix investigation. At the beginning you have few clues at your disposal – The Final Step and The Seal of Cthygnaar.
You have to start from returning to Devil’s Reef Hotel. Watch a cutscene on the ground floor of the hotel. In the room rented by Reed, you will find:
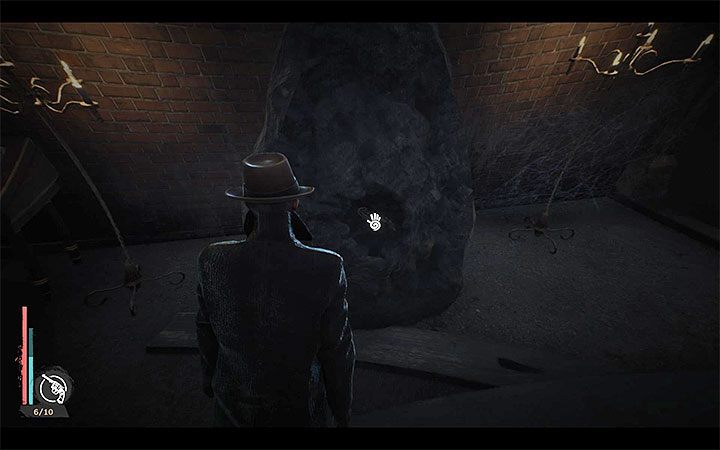
Central Monolith at the Church of St. Michael
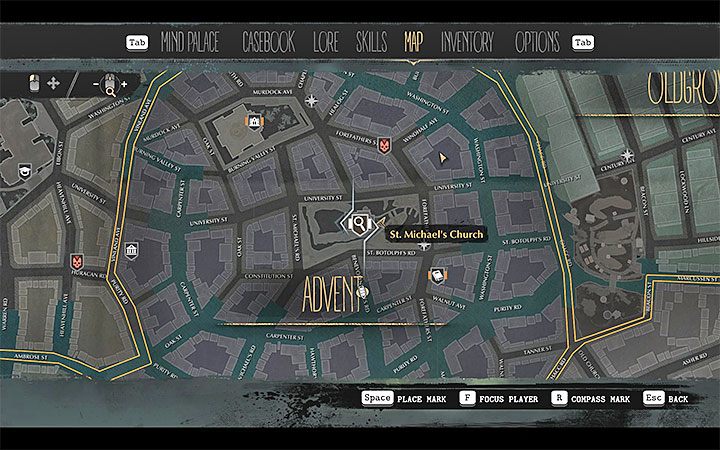
Central Monolith is located in the heart of the Advent district. You must reach the church marked on the picture above – St. Michael’s Church. It’s up on the hill, and before you go inside, look in the car with cans of gasoline.
Explore the interior of the Church:
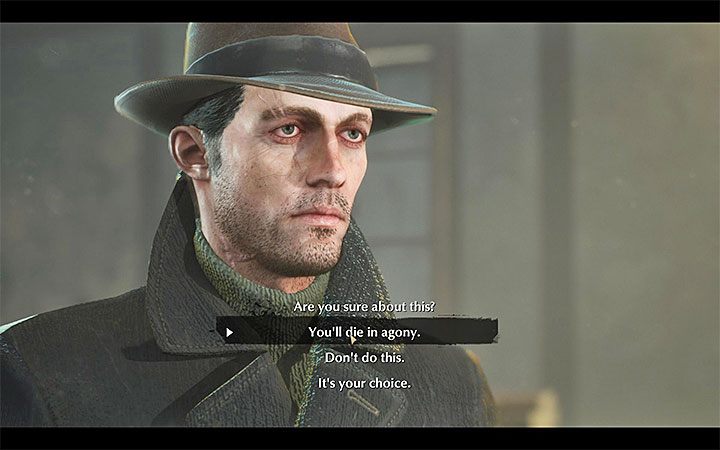
Go to the second floor and go to Meryl, with whom you can talk about the Clues to Find the Monoliths. During the conversation, it is worth choosing the dialog option of frightening her with death in torment, so that she will refrain from the decision to self-immolate. This way you get the Damage Control trophy.
You can open the Mind Palace. Combine clues The Cycle will repeat and Cthygonnaar holds the Daughter. There will be two deductions to choose from – Restart the Cycle and save mankind and Restarting the Cycle is useless. Of course, this are just the thoughts of a hero, not a binding decision. Regardless of the selected conclusions, at the game’s finale you may choose every ending.
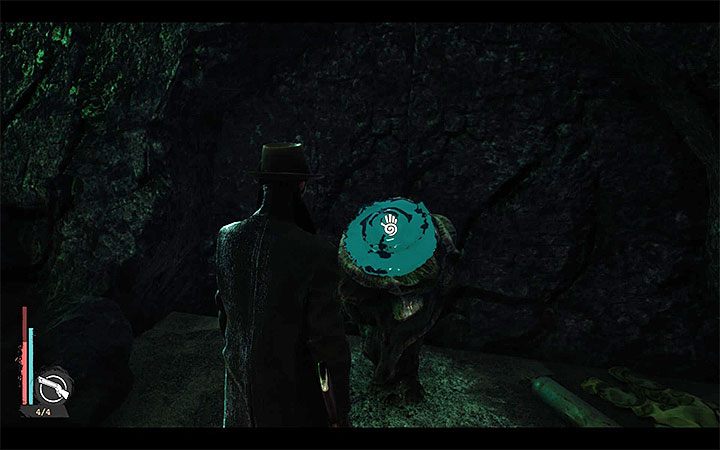
Continue the exploration:
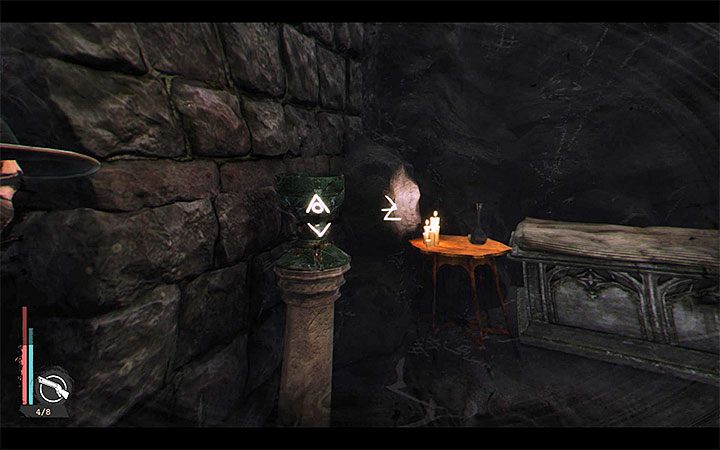
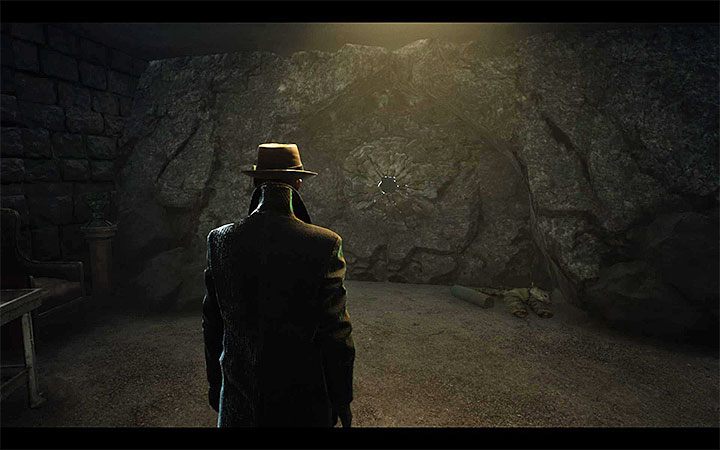
Stay in the basement and keep using the mind’s eye. This time you need to find the illusion from the attached image. After the symbols merge, a log will appear. Take it and find the eye icon to open it – you will receive Father Nicholas‘ Instruction, First Part of Instructions and Second Part of Instructions. You have explored the Church in 100%.
Coastal monolith
This monolith is associated with First Part of Instructions that you obtained in St. Michael’s Church. This is a verbal mystery that you need to solve in order to find a new area to explore.
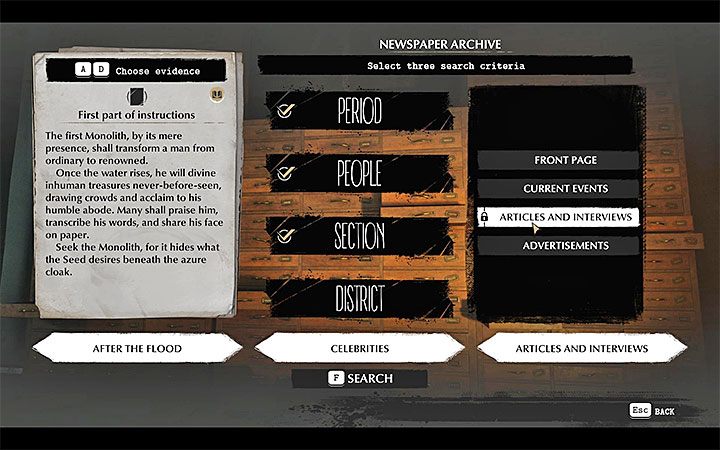
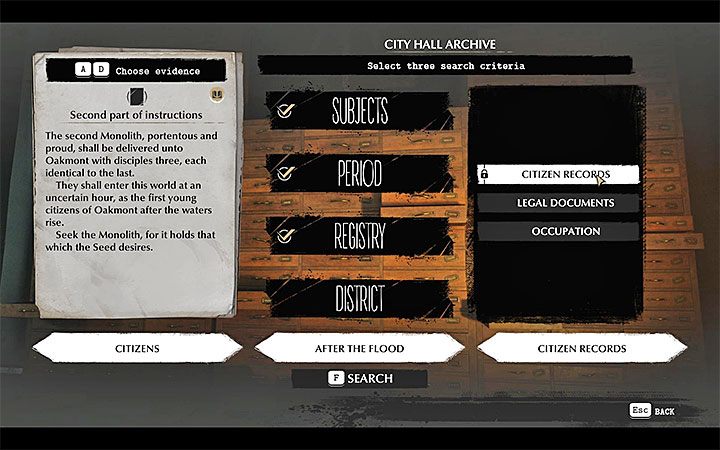
Visit The Oakmont Chronicle, specifically its archive:
By correctly defining the investigation criteria, you will receive a note about Incredible Discoveries.
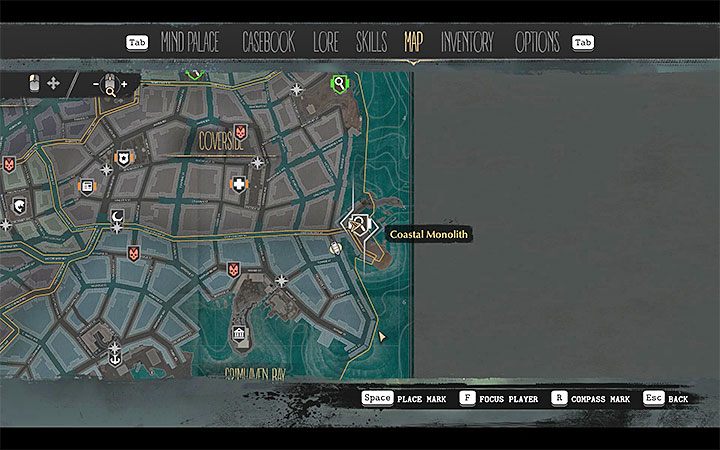
Analysis of the above document will allow you to find the Coastal Monolith – shown in the attached image. This is the eastern end of the world map, namely the end of Old Colony Street on the border between the Coverside and Grimhaven Bay. Explore the surroundings of the monolith:
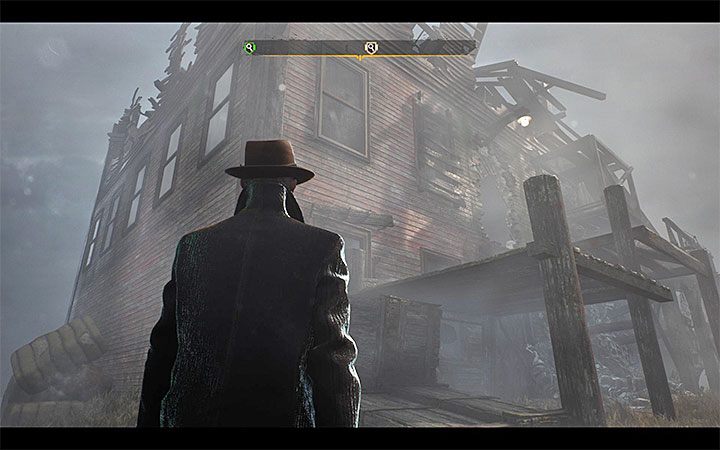
The surroundings of the monolith are already 100% explored. Activate the Mind’s Eye and follow the appearing sign (omen) in the form of a flying creature. You will be led to House of Jimmy Price, which is just next door. The entrance to the building is closed, but in the place shown in the picture you can climb and reach the first floor of the house. Start exploring it:
Dive and search for the second seal fragment

Follow the route marked by the lamps and look out for the hot air. In addition, you will run into a single monster in the further part of the march – try to stay away from it and scare it away with a harpoon.
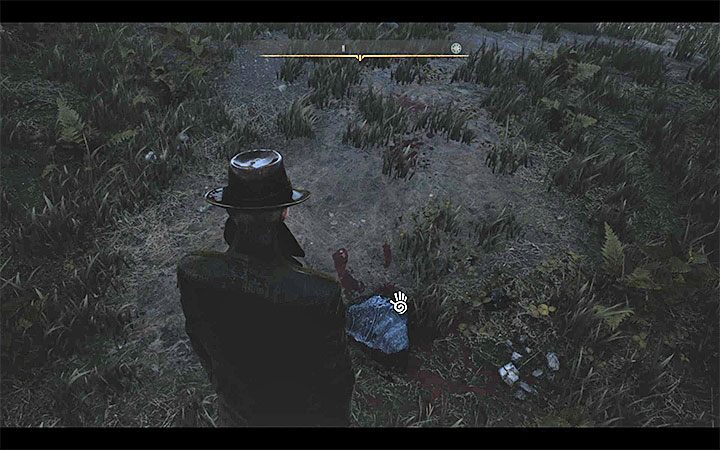
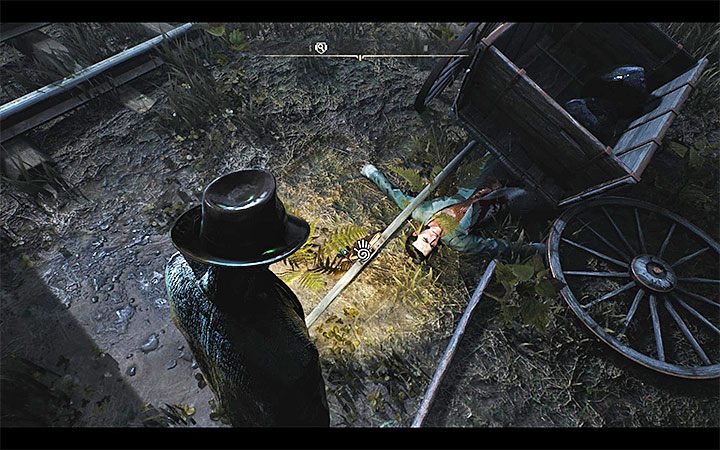
If you want to fulfill Jimmy’s wish, you can locate 3 „mummified“ corpses (example in the image). They are found on the route of the march, so you do not have to deviate from the main road to come across them. Press the interaction button at each corpse to leave a cross next to them.
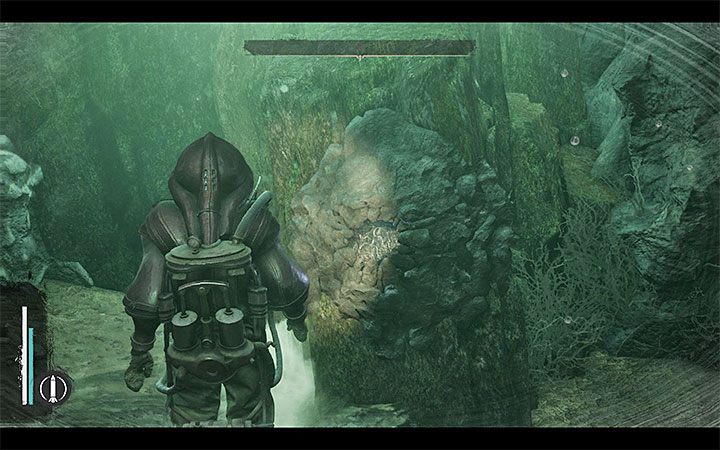
Immediately after passing the third drowned man, reach the place shown in the picture. Activate the Mind’s Eye and match symbols in order to eliminate the illusion. This will allow you to get the tentacle, which is the second fragment of the Seal (Two Out of Three). Reed will automatically return to the surface.
If you put crosses on bodies, talk to Jimmy price again. As a reward you will receive XP and a lot of ammunition for your weapons.
Monolith at the railway station
The Second Part of Instructions, which you received in the Church of St. Michael, is connected with this monolith. This is a verbal mystery that you need to solve in order to find a new area to explore.
Visit the Oakmont City Hall, specifically its archive:
With a proper setup, the criteria allow you to find information about Triplets Records.
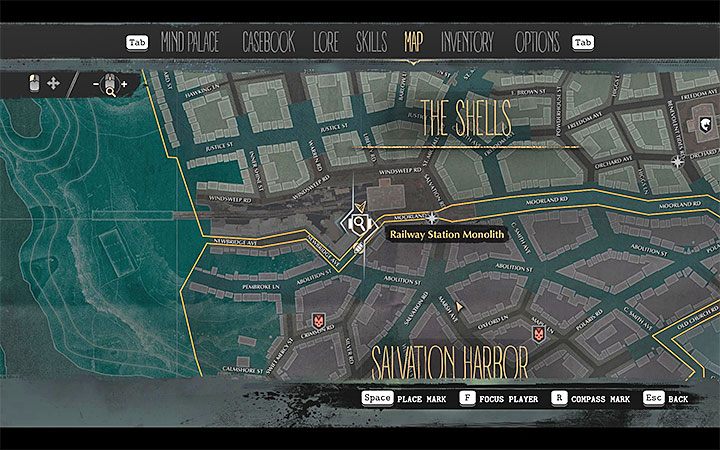
Railway Station Monolith can be found on the border of the Shells and Salvation Harbor districts – as we have presented it in the above picture. This is the intersection of Salvation Road and Moorland Road.
Before you examine the monolith, we advise you to clean the abandoned railway station building of monsters. This will facilitate your further investigation.
First of all, you need to explore the area near the huge monolith:

Once you find all the traces, a blue cloud will appear, signaling the possibility of using the retrocognition. The correct sequence of events:
You’ll find that a group of fanatics (Stone Thieves) have been working on chopping off monolithic fragments. They managed to obtain a large boulder and left with it before the monsters appeared.
You can now climb up the barricades and reach the large field next to the abandoned railway station building. The first corpse you will find inside the destroyed building of the railway station.
Successive finds in this location are associated with a damaged car, shown in the picture, which was used to transport fragments of the monolith:
The monolith area has been explored in 100%.
Exploration of Stone Worshippers‘ Residence
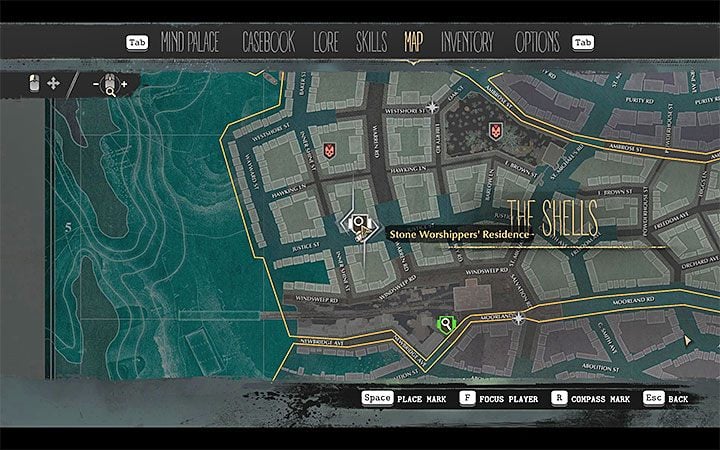
Stone Worshippers‘ Residence is situated in the center of the Shells district. It is shown in the above picture and is a flooded fragment of Justice Street, between Inner Shine Street and Warren Road. You have to go there by boat, locate a place where you can go down to the pier and enter the building through a hole in the wall.
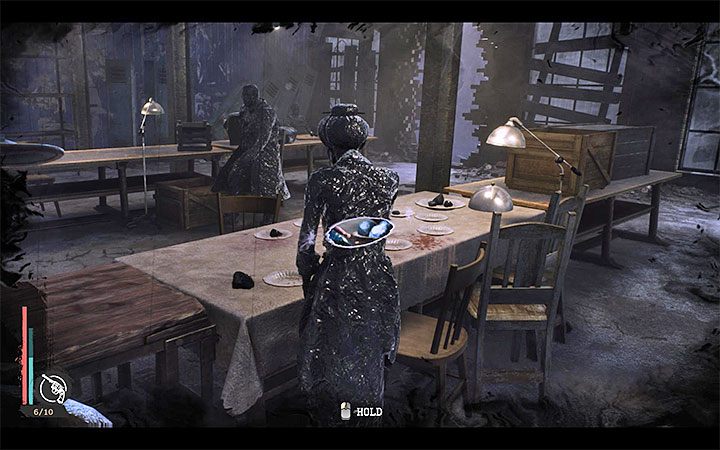
Engage in the study of the ground floor of the worshipper residence:
Go to the first floor of the building. The doors are closed, but you can look through the window to the left of them. Turn around and enter the blue cloud to begin the retrocognition. Here is the correct chronological order of events:
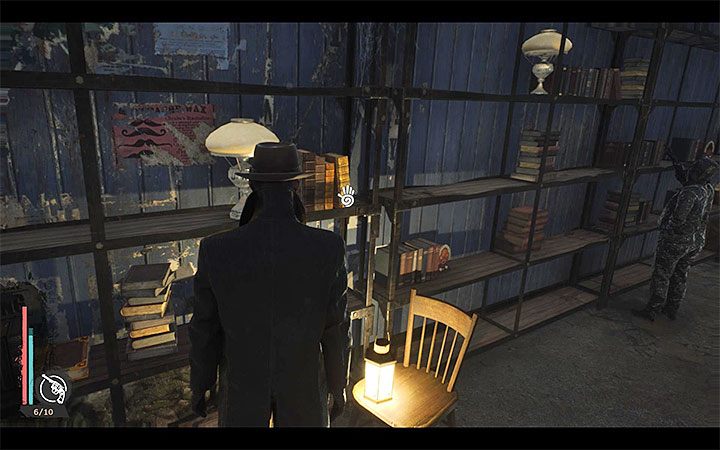
You will find (Fate of the Monolith Shard) that a large boulder from the monolith was brought into the building. It was partially crushed into smaller pieces, and the largest piece was moved to the floor. Get interested in the book shown in the picture – it’s located on the ground floor of the building. Look at it from all sides and take out A Key. Be careful on a sudden drop in mental health, if necessary, take a sedative.
Explore the floor of the building:
Return with full Seal to the Central Monolith
Now you have to return to the central monolith, which is the St. Michael’s Church. Go down to the basement and deal with last monsters.
Reach the place shown in the picture – it is a pedestal on which the „completed“ Seal is placed.
This is a point of no return – all subsequent actions lead to the area where you choose the game’s ending. If you have any unresolved side investigations, create a manual save on a separate slot. You will be able to return to them and continue your exploration of Oakmont if necessary.
Last dive
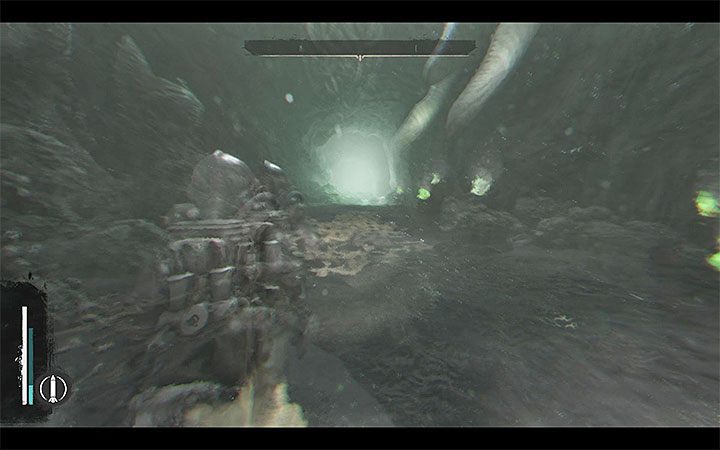
Allow the symbols to converge so you can unlock the passage and Reed will dive automatically. As you play this section, watch out for the hot air, the new underwater creature, and the tentacles that pop out of the bottom – run alongside them and use the harpoon to stun the monsters.
Follow the route marked by „green gates“. In order to reach some of them, you need to jump to the lower parts of the bottom. In the final part of the campaign you will begin to experience hallucinations and quickly lose health points. Head towards the illuminated cave entrance shown in the picture and do not stop along the way.
Surviving hallucinations
Now you must pass through a series of locations where Reed will experience hallucinations. They can vary depending on the events that occurred during the game, and in particular who has died during your overall progress. You can, though you don’t have to, watch the hallucinations. It is more important to observe the mental health bar again and to use sedatives after it is completely exhausted.
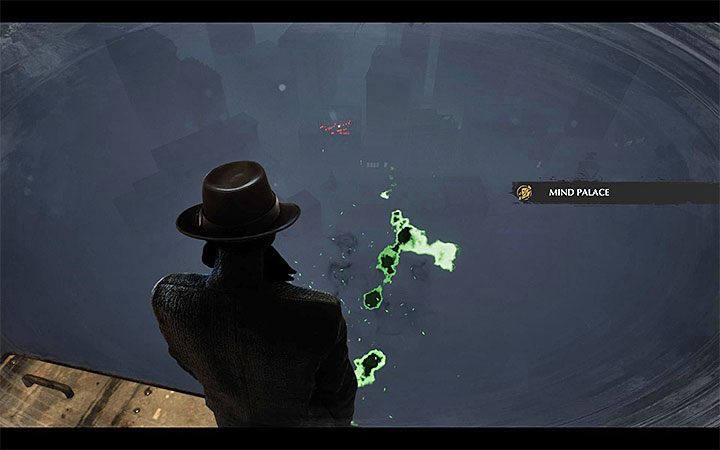
Not only the beginning is problematic here. Jump off the deck of the ship at the location showed in the image. As you experience the hallucination, you can create new entries in the Mind Palace:
You will be taken to a cave where you choose the ending of the game. Check the List of Endings page of our Tipps, where we have described all of them.