
Last update: 26 June 2019
This page in our Tipps to The Sinking City contains walkthrough for Fathers and Sons main case. It starts innocently with your attempt to find a way to leave the town. As the case progresses, you will meet with two important characters from the Carpenter family. Reed will also encounter Redemption Church fanatics.
- Find smugglers‘ track
- Visit The Seven Oaks bar
- Find the courier
- Find the smugglers‘ hideout
- Variant 1 – Reach the hideout without any fights
- Variant 2 – Forcing your way to the hideout
- Meet with Brutus Carpenter in the Smugglers‘ Hideout
- Visit the Crematorium
- Locate James Warren
- Examine the Carpenter Manor
- Find an old Oakmont church
- Examine the Redemption Church
- Crossing underwater terrains
- Cave of religious fanatics
- Option 1 – Helping Graham (the son)
- Option 2- Work with Brutus (the father)
- Last meeting with Fred
Find smugglers‘ track
This case starts automatically after completing Quid Pro Quo. You also unlock the first entry in the evidence – Fred’s Demand.
Your first objective is to find smugglers – the clue that will point you in the right direction is the fact that they have communicated with each other through advertisements in the local newspaper. Go to The Oakmont Chronicle and interact with the archive.
Thanks to these criteria, you will get Toothless Bob’s Wake.
Visit The Seven Oaks bar
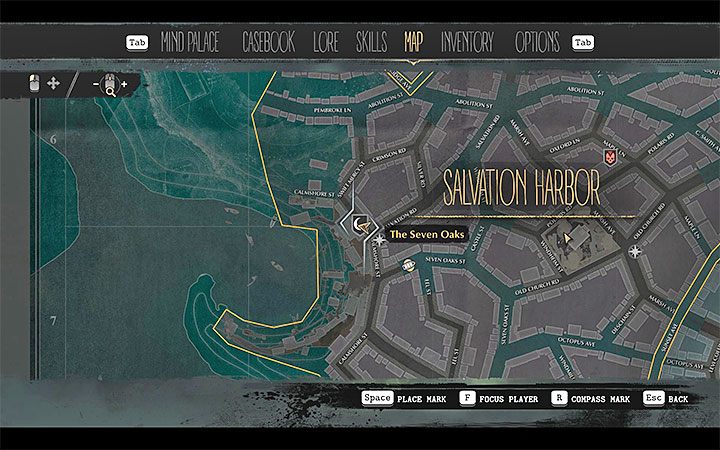
Go to The Seven Oaks bar located in the Salvation Harbor. The picture above shows the exact location – the intersection of Calmshore Street and Salvation Road. The bar is visible from a distance thanks to the sculpture of a ship hull.
The first thing you can do is to have an optional conversation with Sam Shaw – you will get Extra Hours side case. To continue the main case, speak with the bartender and tell him that you are here for the wake. Before you get information about the smugglers, you have to complete A Favor for the Bartender.
Find the courier
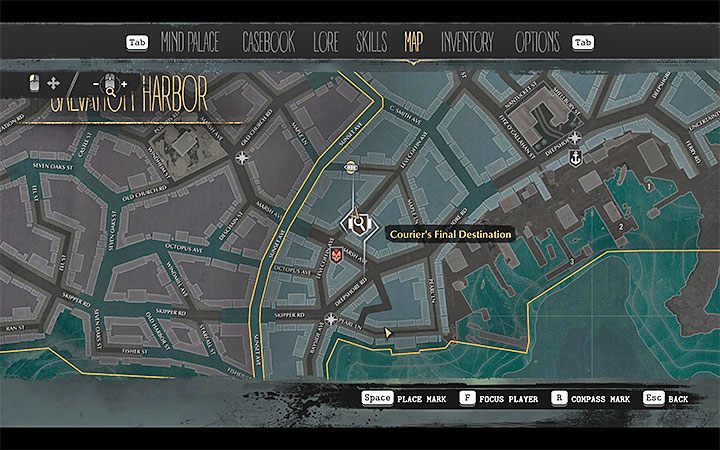
You have to find the lost courier. Courier’s Final Destination is presented in the picture above – it is Levi Coffin Avenue in the Grimhaven Bay, near the intersection with Marsh Avenue. Reach the place from north-east – Infested Area is near the building. If you go through it, you will have to either avoid or fight monsters.
Explore the warehouse. Prepare yourself to face monsters. Among them, you will find small running creatures and monsters that spit out projectiles.
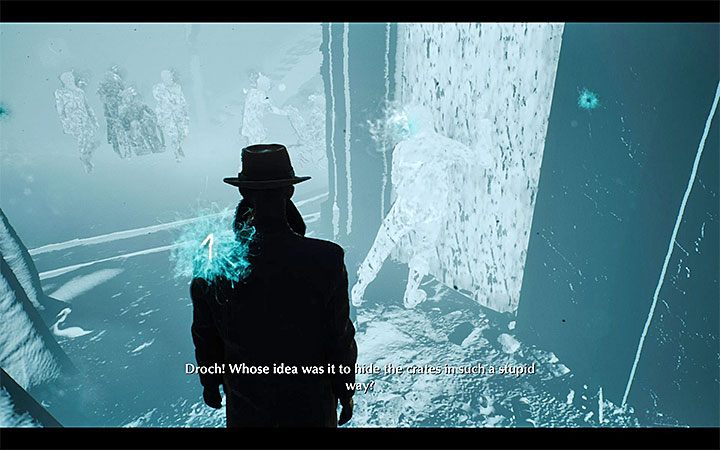
Find the blue cloud to initiate retrocognition. The correct sequence of events:
You determine that the person who arrived here was looking for the crates with alcohol. That person has been captured by the thugs led by the man on the wheelchair – Murder in the Basement. After that, you should get a message that the warehouse has been explored in 100%.
Go back to The Seven Oaks. Show whiskey to the bartender and tell him that the courier is dead. The man will give you ammo and Bartender’s Instructions.
Find the smugglers‘ hideout
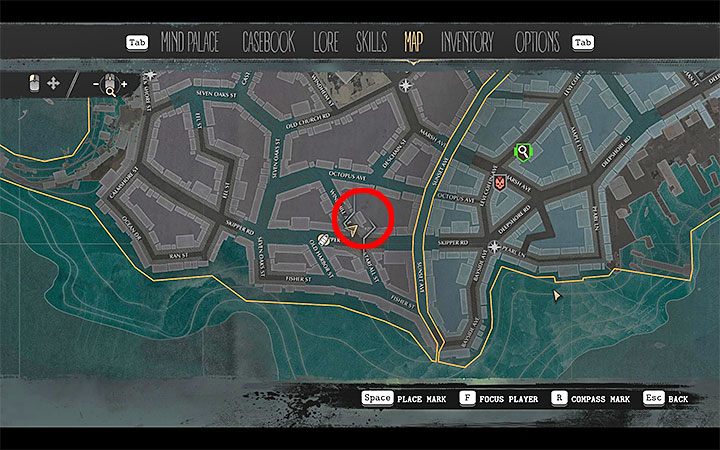
Smugglers‘ Meeting Point is on Windmill Avenue in the Salvation Harbor. This place is marked in the picture – the meeting point is in the part of Windmill Ave located between Octopus Avenue and Skipper Road.
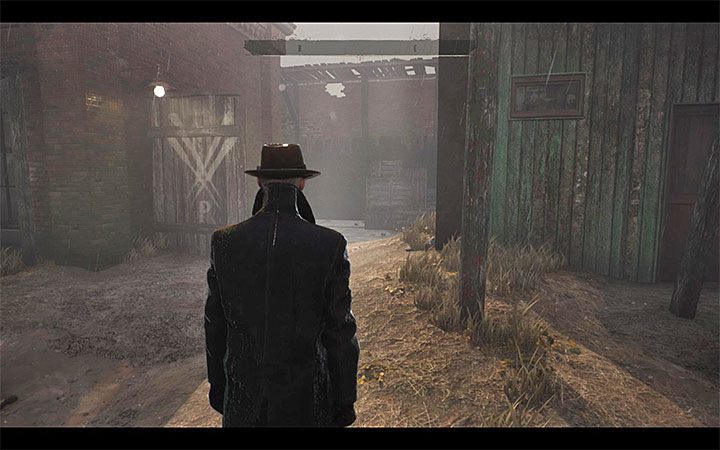
Go through the narrow passage next to the building and you will reach its back. This triggers a cut-scene during which Reed will meet with the smugglers. We recommend saving the game before you go there – the smugglers get mad easily. This, in turn, will lead to a fight.
Variant 1 – Reach the hideout without any fights
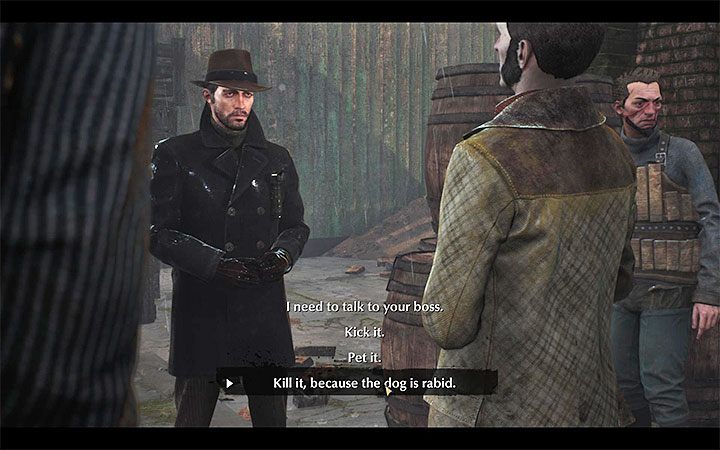
This is a better variant – you will avoid combat. During the conversation, choose the last dialog option Kill it, because the dog is rabid.
Agree to travel to the Smugglers‘ Hideout. The action will move to the room located on the hideout’s upper floor.
Variant 2 – Forcing your way to the hideout
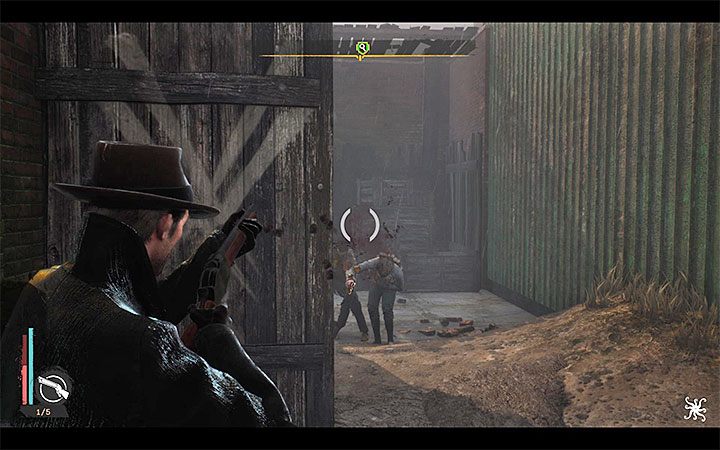
This variant is possible if you choose any other dialog option – Kick It or Pet It. The smugglers will attack Reed on the spot. We recommend leaving the alley – you will have a few seconds to take out your weapon. Keep killing the smugglers.
One of the smugglers will drop the Guidance Note. You can also examine the alley – you will find a chest with loot.

As for this variant, you have to find the Smuggler’s Hideout yourself by using the information found in the note. The location is presented in the picture above – the hideout is south of The Seven Oaks (the intersection of Calmshore Street and Skipper Road).
Once you reach the hideout, you have to kill the smugglers. Try to be on the move to avoid enemy fire. Reach the door located on the upper floor – they lead to the same room you visit in variant 1.
Meet with Brutus Carpenter in the Smugglers‘ Hideout
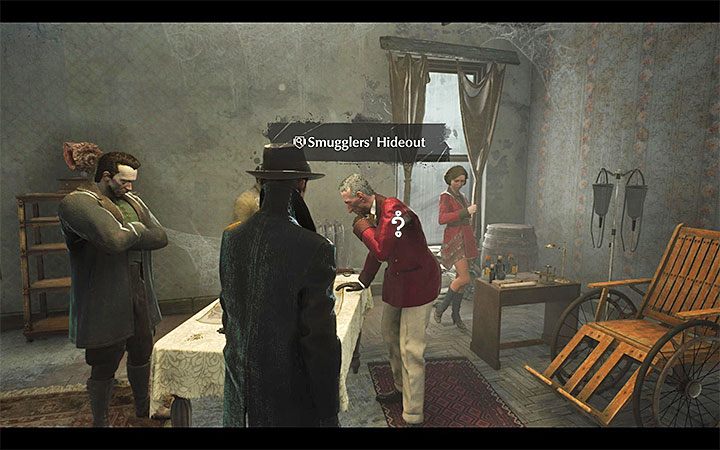
You meet Brutus Carpenter regardless of which variant you chose. You don’t have to worry about any negative consequences due to killing smugglers in the alley and the building. You learn that Brutus can get Fred out of the town, however, you have to do him a favor first – you need to find out who tried to kill him. Reed unlocks a few potential clues – Brutus‘ Testimony, Double in the Manor, Crematorium Tag.
Open the Mind Palace. Connect Smugglers‘ boss – ruthless tyrant and Brutus wants to be a better man. The game gives you two deductions. You can choose Brutus is never going to change or A second chance for Brutus. This isn’t the final choice – the final decision is made at the end of this case.
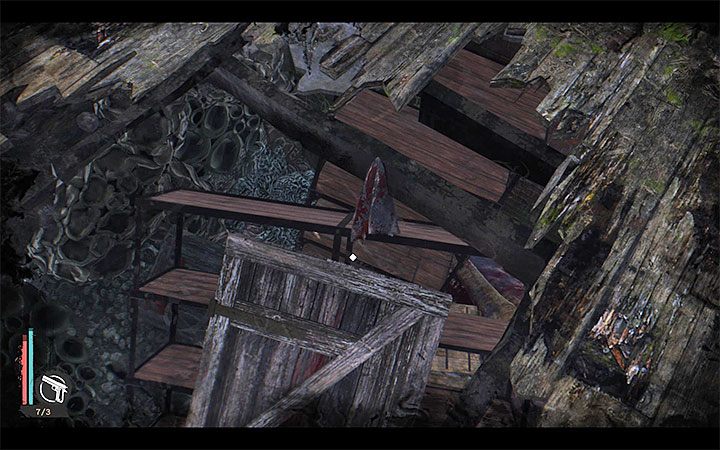
Before you leave the hideout, explore it to get additional XP and loot:
Go back to Brutus and ask him an optional question about the murdered woman. The game should inform you that this location has been completed in 100%.
Visit the Crematorium
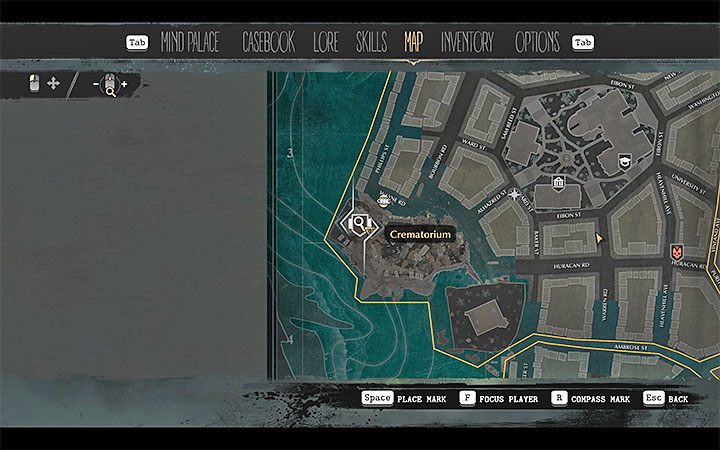
The Crematorium is one of the two locations you have to visit during this case (Reed can visit these locations in any order). The Crematorium is in the south-west part of Reed Heights and is next to the cemetery. Use a boat to get there. The location is presented in the picture above.

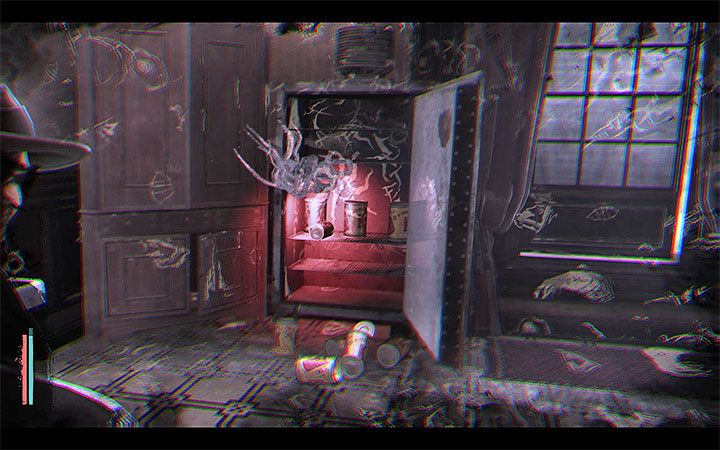
Start exploring the Crematorium:
You can now start retrocognition. The correct sequence of events:
An Event in the Crematorium – you determine that Brutus has been brought here by people working with the crematorium employee. After he woke up on the table in the crematorium, Brutus hit the employee with the poker and then ran away. The game should inform you that you examined the Crematorium in 100%. Open the Mind Palace. Connect Crematorium shift schedule and Brutus stunned the crematorium worker – you unlock Locate James Warren deduction.
Locate James Warren
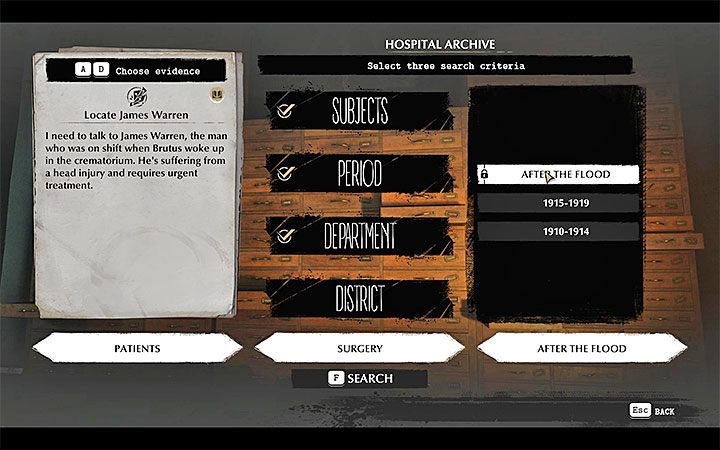
Go to the Hospital of St. Mary – Warren was injured with the poker. Go to the archives room:
You will get James Warren patient record.
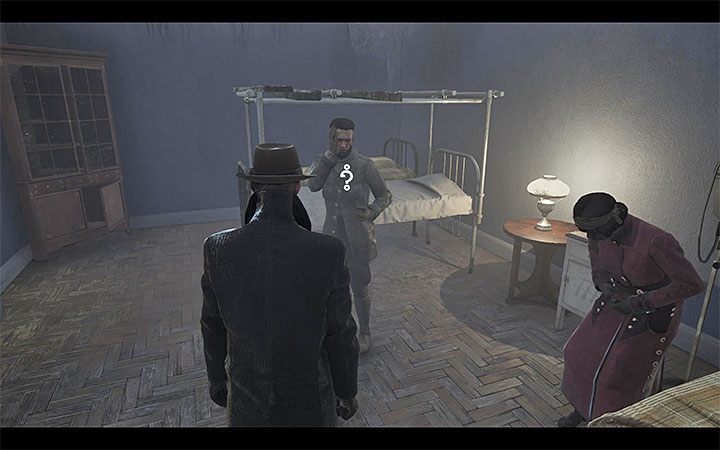
Go up the stairs (level 2). James Warren is in the place presented in the picture above. Use all the dialog options. This will unlock Warren’s Testimony.
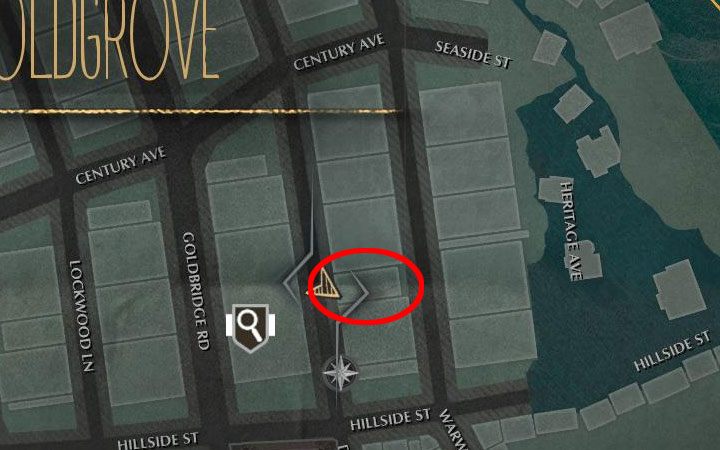
Examine the Carpenter Manor
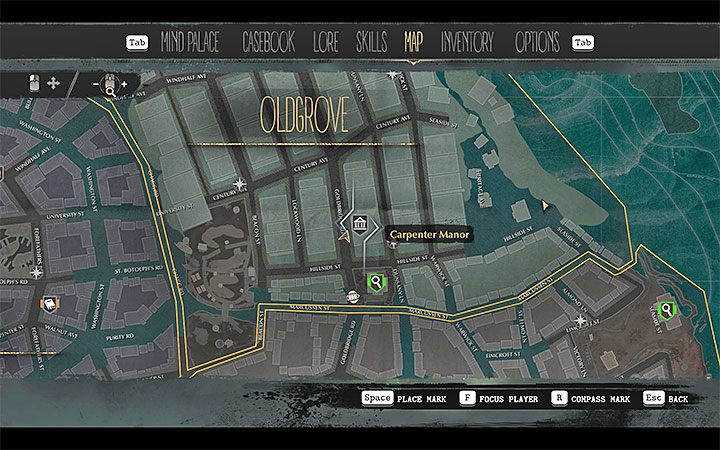
The visit to the Carpenter Manor is one of the clues you got during your first meeting with Brutus Carpenter. The manor is on Goldbridge Road in Oldgrove district – see the picture above.
Examine one of the boards informing about free food. Speak with the guard near the entrance to the manor. You can ask him for a First Aid Kit. You should also offer your help (A Job from the Taskmaster).
Go down to the basement. There, you can find 2 chests with loot and an empty sack of potatoes. Activate the Mind’s Eye and start following the omens in the form of a man. They will lead you to the manor’s back exit. You can jump over the fence but there is a risk that you will lose a little bit of health (you can also go around the wall). The picture above shows the destination – eliminate the small monsters and speak to the man kneeling on the car’s rooftop. You can act in two ways:
Both choices give you the opportunity to Speak with Graham Carpenter. Go up the stairs and move forward:
Open the Mind Palace. Connect Brutus met the priest of an old church and Churchgoers wanted Brutus to be cremated – you unlock Find An Old Oakmont Church deduction.

Graham Carpenter is in the second room on the upper level. Start with examining the room:
The beginning of the conversation with Graham depends on how you have dealt with the potatoes thief:
Open the Mind Palace. Connect Carpenters are helping poor and Graham wants to change his family – you unlock Graham’s motivated to change things deduction. The game will inform you that you have explored the manor in 100%.
Find an old Oakmont church
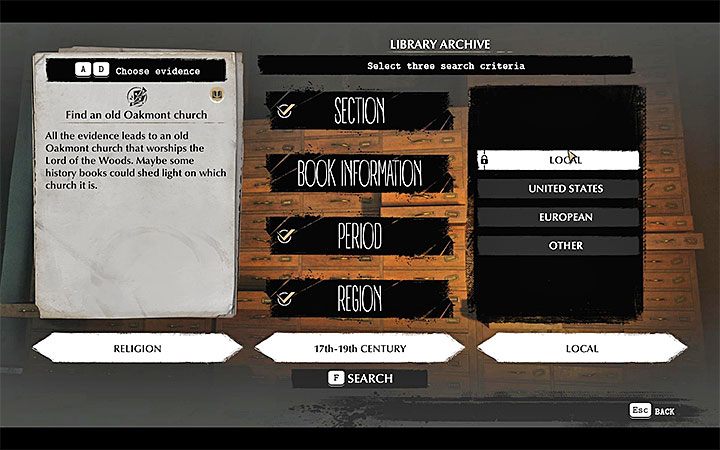
Go to Oakmont University Library located in the Advent district. Once you get there, speak with Joy Hayden about every topic. After that, go to the archive desk:
This should unlock Prayer to the Heavens.
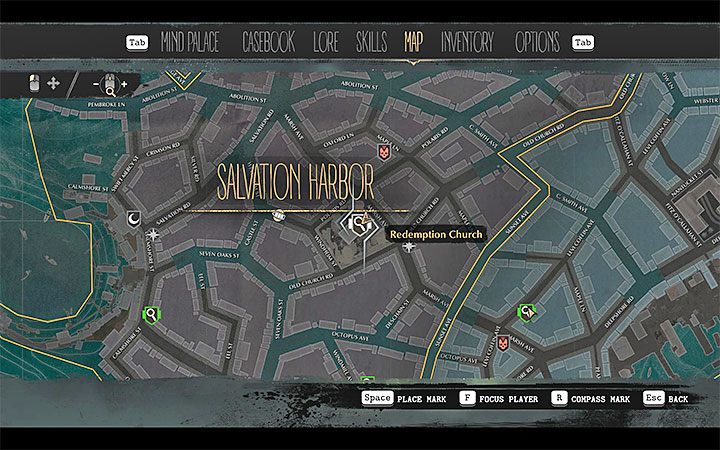
The document has clues related to the Redemption Church. Go to Salvation Harbor. The church is at Marsh Avenue, between Polaris Road and Old Church Road – the location is presented in the picture above.
The entrance door are closed with a lock. Hit it a few times with a melee weapon.
Examine the Redemption Church
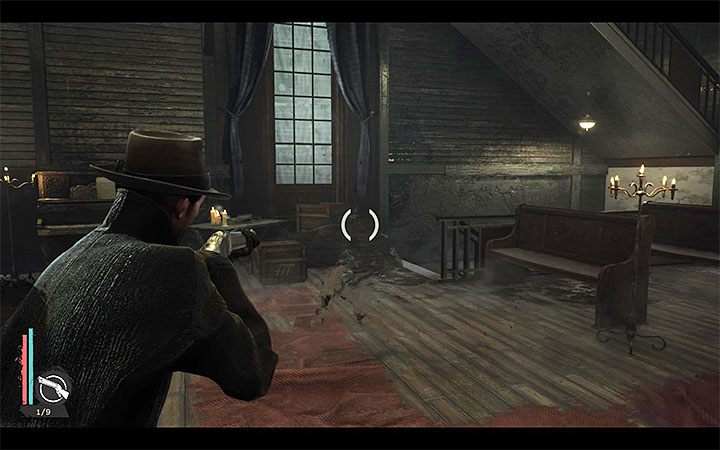
Start exploring the church:
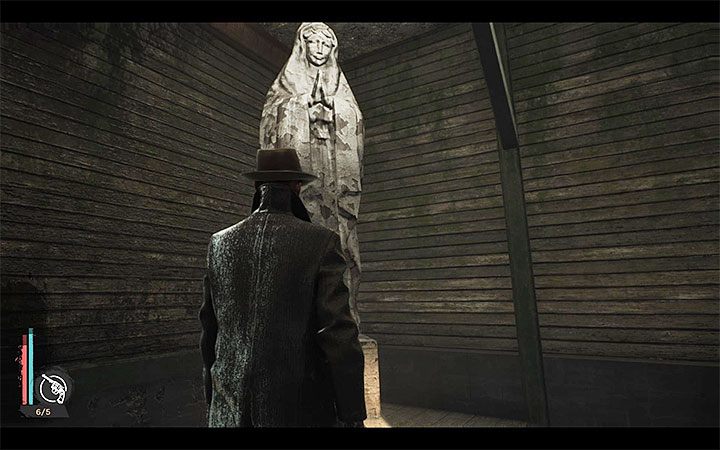
Continue exploring the area:
Start a retrocognition. Find the blue cloud and then search for the interactive areas (check all the floors of the church). The correct sequence of events:
You determine that the Redemption Church Cult has burned the corpses, took the documents and then dived. Open the Mind Palace. Connect The cultists hid under the church and Church records are taken away – this unlocks The answers are underwater deduction.
Go back to the bottom floor of the church. Interact with the diving suit. Reed will put it and then dive.
Crossing underwater terrains
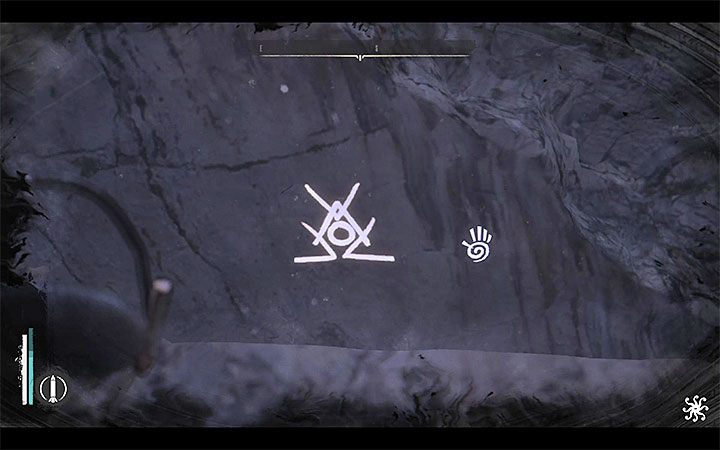
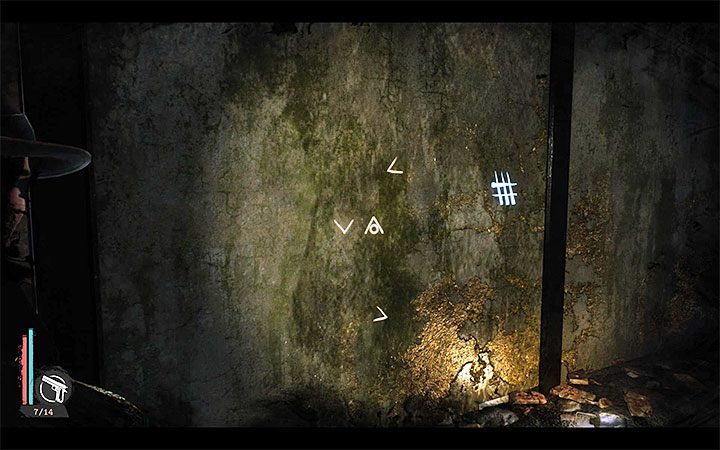
The exploration of the depths begins in front of a large boulder with a glowing inscription. This stone is an illusion – interact with it, activate the Mind’s Eye and let the symbols to match. Go straight and climb to the next fragments of the seabed.
During the crossing, watch for hot air escaping from the holes. It can damage the dive suit. When that happens, hold down the interaction key to repair the suit and recover lost health points for free. The air comes out continuously from some holes. In other cases, the air is released at intervals. Use these breaks to run through the „inactive“ hole and move on. Along the way, you will encounter an underwater creature. You can use a harpoon and „stun“ this monster, or simply bypass it while keeping a safe distance.
Focus on searching posts with inscriptions – they point the way. Avoid the abyss – Reed will die if he falls into them. The game, fortunately, will create several automatic saves along the way. If you fail, you won’t have to start all over again.
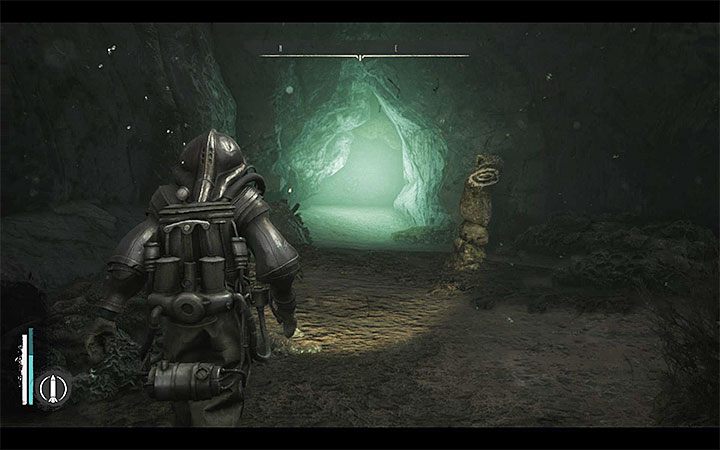
The destination is the illuminated cave entrance shown in the picture. Reed will automatically take off his suit there and you can explore the cave in a standard outfit.
Cave of religious fanatics
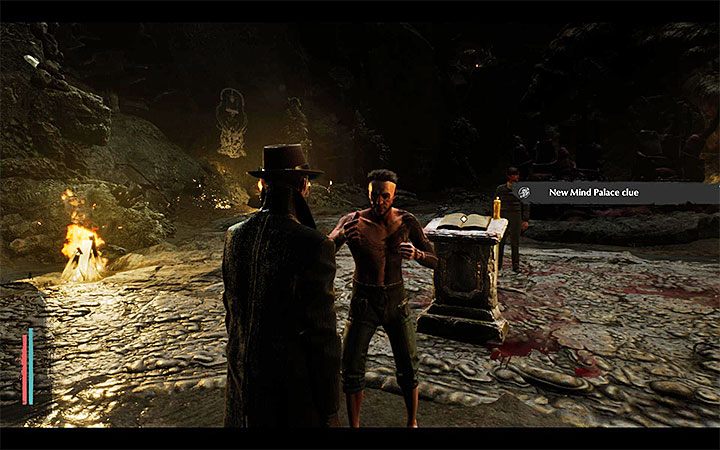
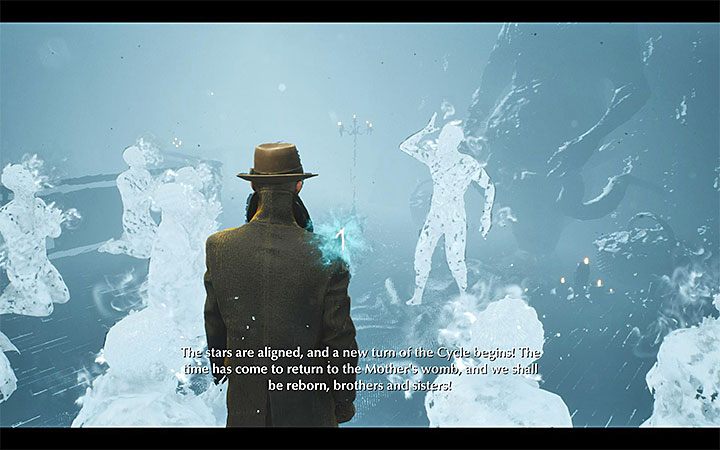
Two loot containers are near the starting point. Search them and try to craft as much ammunition as possible – it will be very useful in a few minutes. Approach the altar visible in the distance – this will trigger a conversation with one of the fanatics.
The cultists will attack the main character immediately after the conversation ends. You can attack them using firearms or use melee weapons to save ammo.
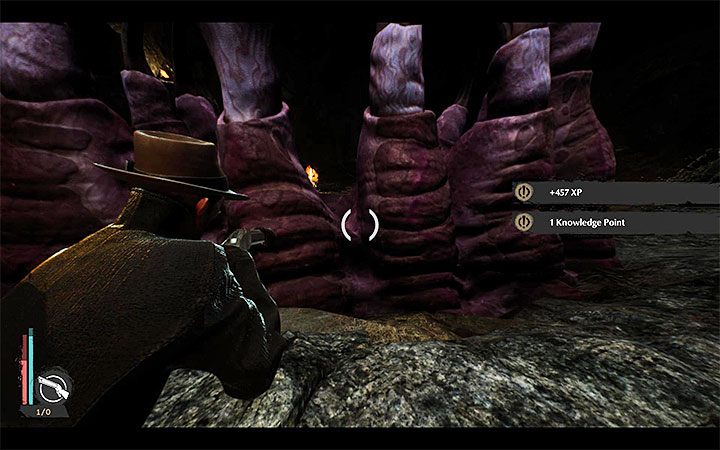
A huge monster appears in the cave. He is motionless but it spits out projectiles. Run around the creature and keep shooting it with any weapon (the stronger the weapon, the better). Don’t stop and keep attacking until you deal with the monster.
If you run out of ammo, you can collect rounds from the chests located in the cave. They contain crafting materials.
Go to the altar and take the book (Songs of the Horned Woods). Open the Mind Palace. Connect The church can control Graham and It’s a cult not a church – this unlocks The cultists could manipulate Graham deduction. A new entry with question marks appears in the Mind Palace. It has two deductions – Graham will stand firm and Graham – cultists‘ puppet. Again, this is not a final choice that will have an impact on the further course of the game. The decision whether to help Graham or Brutus is done after leaving the cave – we have described them as variant 1 and variant 2.
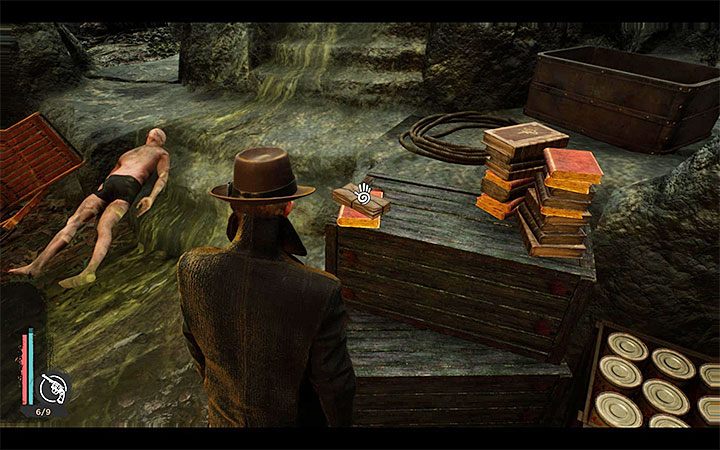
Search the cave for more loot containers. In addition, you will find a tipped wheelchair and A Letter from the Church. Go to the Mind Palace again. Connect Churchgoers wanted Brutus to be cremated and Graham had a deal with Church – this unlocks Graham wants to take Brutus‘ place. Unlock the last position with the question marks – depending on the previously selected deductions, you will want to help Brutus or Graham.
The cave should now be explored in 100%. To leave it, return to the dive suit. You will come to the surface. You can now help Graham get rid of Brutus (option 1) or tell Brutus that Graham wanted to kill him (option 2).
Option 1 – Helping Graham (the son)
Return to the Carpenter Manor. Meet Graham again. You can agree to murder Brutus (Graham’s Request).
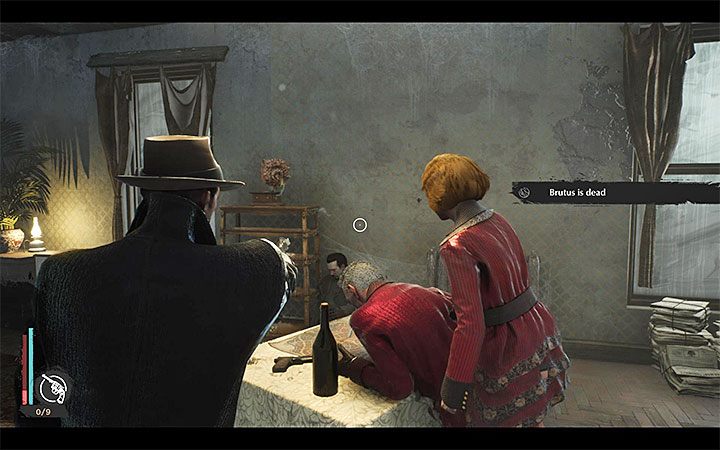
Go to the Smugglers‘ Hideout. Make sure you are ready for battles – heal up the hero and get as much ammo as possible. You can attack Brutus by selecting the appropriate dialog option. Beside him, you also have to kill his gangsters – those from the same room and from the rest of the buildings (if they are still alive). We recommend using a shotgun at the start of the fight – you won’t have to aim accurately. You can also defend yourself near the exit of the office and on the stairs to the ground floor.
After killing Brutus, go back to Graham. The man is thankful. He assures Reed that he will get Fred out of the city. Work together with the son to receive Sic Semper Tyranis trophy/achievement.
Working with Graham doesn’t negate the chance to complete the option 2. You can still tell Brutus about everything.
Option 2- Work with Brutus (the father)
Go back to the Smugglers‘ Hideout. Meet Brutus at the upper floor. Tell the man that Graham wanted to kill him and present the evidence. Help the father to unlock Et Tu, Brutus?
Brutus doesn’t want to kill Graham which means that you can avoid fights. The man promises to help get Fred out of town.
Last meeting with Fred
Go back to Fred after you get the assurance (Escape from Oakmont) from Graham (option 1) or Brutus (option 2) about helping to get him out of town. Go to the Fish Market and meet Fred in the same place as before (near the stalls or in the basement). You will receive a reward – XP, ammunition, Battle Rifle, Gangster outfit (you can wear it by opening the wardrobe in the hotel where Reed stops).
A new main case starts automatically – Nosedive.