
Feindliches Territorium, Seattle Tag 1 Abby: Komplettlösung und detaillierte Beschreibung, Tipps. Auf der Suche nach Manny, Martyr’s Gate, Patrouille der Seraphiten – wie kann man sie besiegen? Spoiler frei!
0 Beitrag Kommentar 0 0 Nächster Tag in Seattle 1 – Abby Winterbesuch Zurück Seattle Tag 1 – Abby The Forward Base / Das Aquarium
Feindliches Territorium ist der Name einer anderen Etappe in The Last Of Us 2. Unten finden Sie die spoilerfreie Tipps für eine Sequenz, in der Abby und Manny sich auf den Weg machen, um Owen zu finden.
- Auf der Suche nach Manny
- Märtyrertor
- Eine weitere Seraphitenpatrouille
Auf der Suche nach Manny
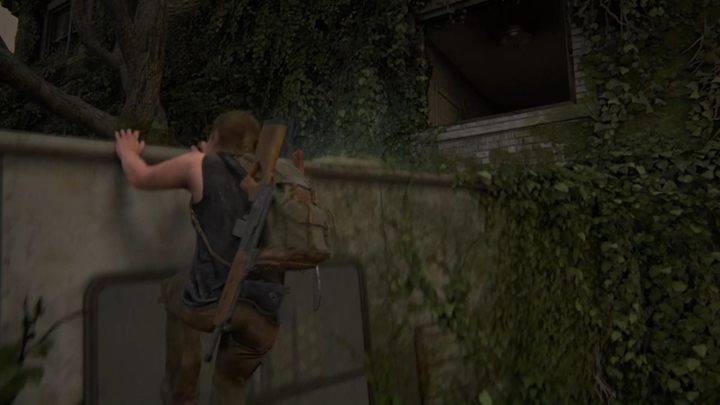
Folgen Sie zuerst Manny und betreten Sie das Gebäude. Durchsuchen Sie die Räume und folgen Sie dem einzigen verfügbaren Weg. Irgendwann wird Ihr Begleiter Abby über den Zaun werfen. Erkunden Sie die Nachbarschaft und betreten Sie ein Bekleidungsgeschäft. Springe durch das Fenster und du wirst in der Ferne Schüsse hören.
Wenn Sie den Platz erreichen, steigen Sie auf das Wohnmobil und fahren Sie durch das offene Fenster fort. Gehen Sie nach innen zu den Brettern und schleichen Sie sich auf die andere Seite.
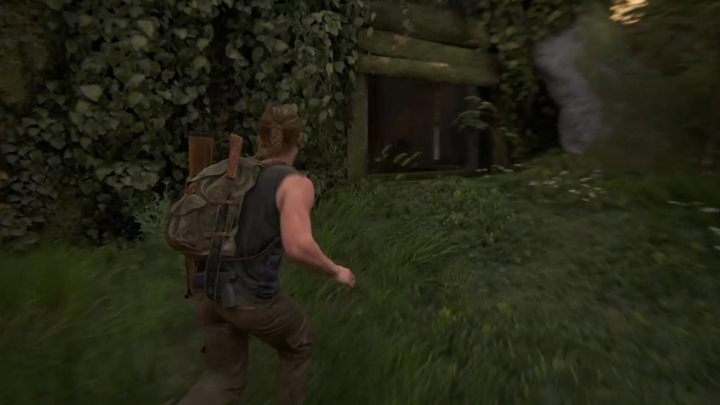
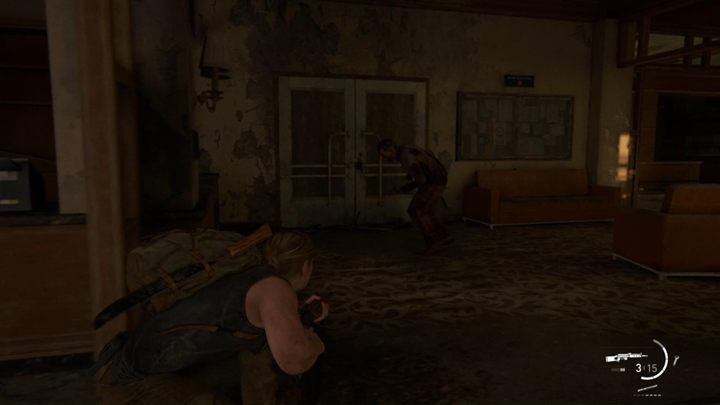
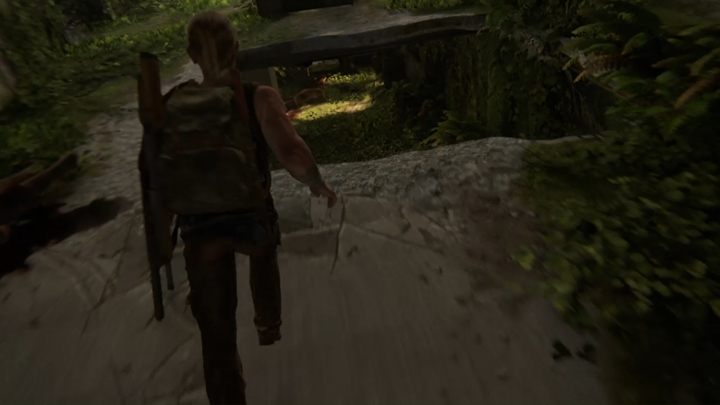
Verlasse das Gebäude und springe auf die andere Seite. Gehe nach links und krieche zum nächsten Platz. Betreten Sie das Gebäude durch ein offenes Fenster – dort finden Sie Mutanten. Nachdem Sie zwei Läufer stillschweigend eliminiert haben, töten Sie den verbleibenden Clicker mit einer Klinge oder einer Schusswaffe. Gehen Sie jetzt nach draußen, springen Sie über das Tor und fahren Sie fort.
Märtyrertor
Biegen Sie links ab und gehen Sie die Straße entlang. Sie erreichen das Märtyrertor. Steigen Sie auf den LKW und springen Sie damit auf die andere Seite des Tors.
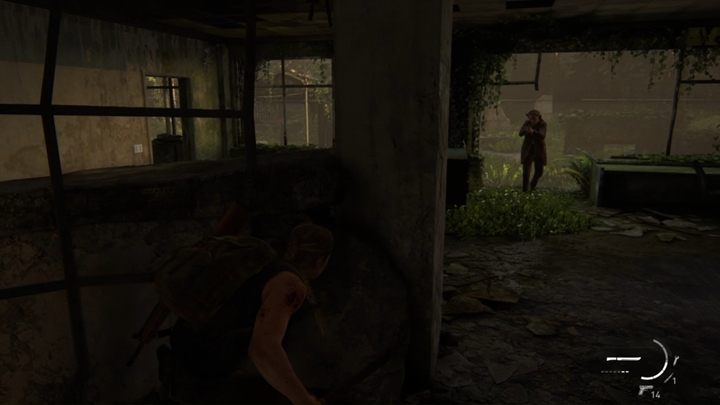
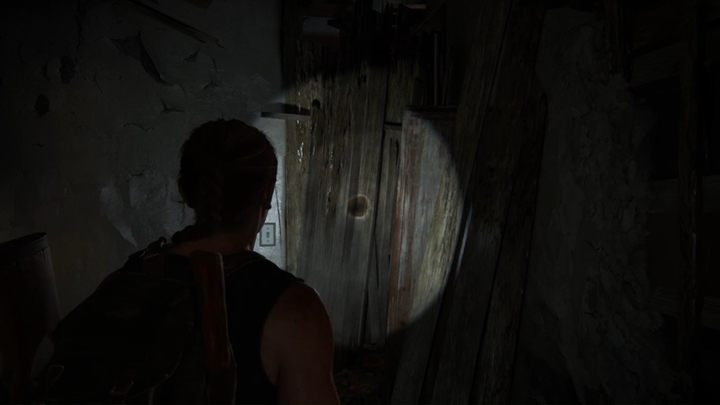
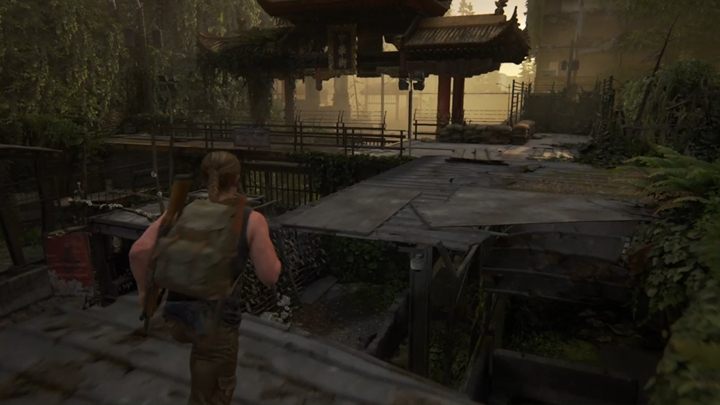
Kriechen Sie, um eine große offene Fläche zu erreichen. Sie werden Klicker in der Gegend hören, aber die Narben kümmern sich um sie. Verstecke dich im Gebäude, schleiche und eliminiere die angetroffenen Seraphiten.
Versuche ein großes, zerstörtes Gebäude zu erreichen. Gehen Sie in den dritten Stock, bis Sie den Serverraum erreichen.
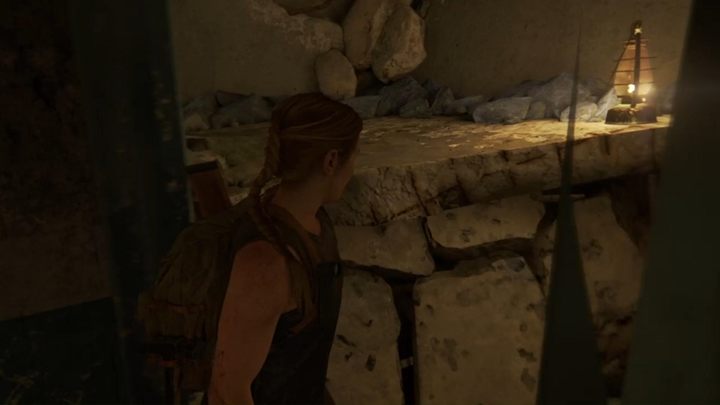
In der Nähe finden Sie eine Treppe zu einer noch höheren Etage – leider ist sie eingestürzt. Klettere das Wrack hinauf, bis du oben angekommen bist. Fahren Sie durch diese Passage fort, und nach kurzer Zeit findet Abby eine Schrotflinte mit zwei Läufen, die im direkten Kampf nützlich sein wird.
Eine weitere Seraphitenpatrouille

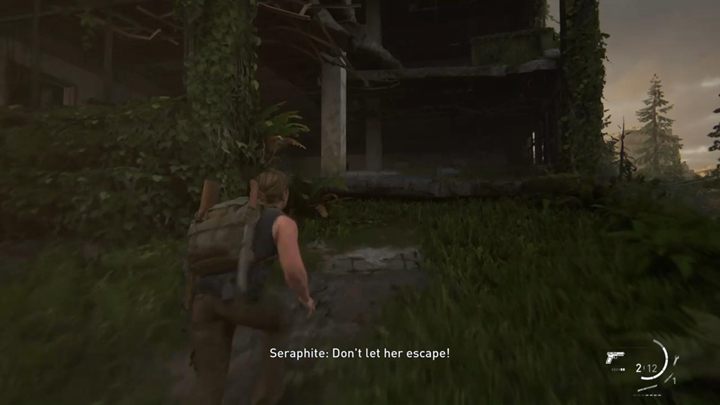
Gehen Sie unter die Metallstangen, bis Sie nach unten springen. Sie werden hören, dass sich Narben in der Gegend befinden – das gesamte Gebäude ist ein großes Schlachtfeld mit vielen Feinden. Wenn Sie vorhaben, sich ruhig zu schleichen und Feinde zu entsorgen, wird Ihnen dieser Abschnitt viel Spaß machen. Sie können sich hinter den Rücken Ihrer Feinde schleichen, auf sie springen, zum Beispiel von oben, Bomben verwenden – alles, was Sie wollen. Es wird jedoch empfohlen, Feinde zumindest zu Beginn leise zu eliminieren, da Sie zahlenmäßig unterlegen sind. Beseitigen Sie so viele Ziele wie möglich. Wenn es heiß wird, rennen Sie in eine andere Ecke des Gebäudes und regenerieren Sie Ihre Gesundheit.
Springe nach dem Kampf durch das Loch in die darunter liegende Ebene und gehe den Pfad hinunter – du wirst vom Feind angegriffen. Leider nützen deine Bemühungen nichts und Abby wird von den Seraphiten gefangen genommen.
Nächster Tag in Seattle 1 – Abby Winterbesuch Zurück Seattle Tag 1 – Abby The Forward Base / Das Aquarium