

This page of the Tipps to Ratchet & Clank Rift Apart explains how to solve all 3 of Clank’s puzzles after the return to Savali which is the fourth an final puzzle-related location. You’ll learn how to manipulate the spheres in the Savali catacomb puzzles, and how to get other Clanks to the meta-terminal.
- Puzzle starting location
- First puzzle
- Second puzzle
- Third puzzle
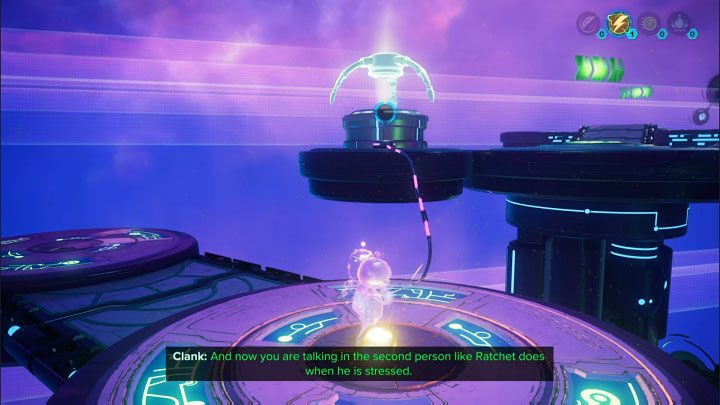
Puzzle starting location
You can start solving the final 3 puzzles when you return to planet Savali- this will happen after the Nefarious‘ ships are destroyed during your second visit to Sargasso. When you return to Savali, you will need to unlock access to the catacombs and also defeat a boss – Undead Grunthor – while exploring them.
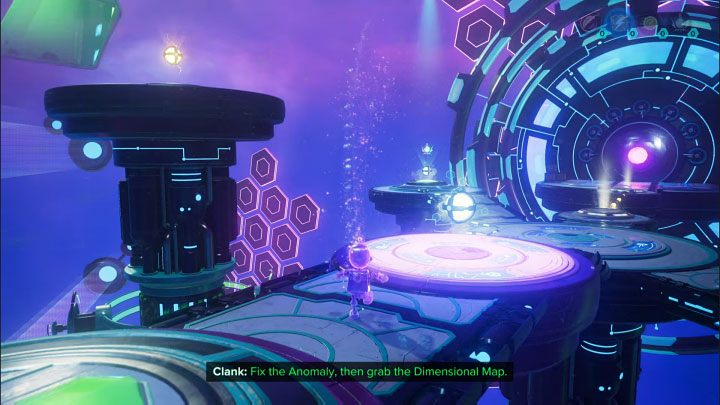
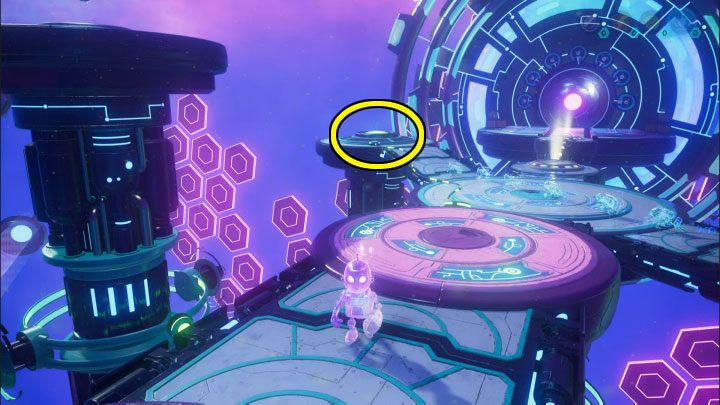
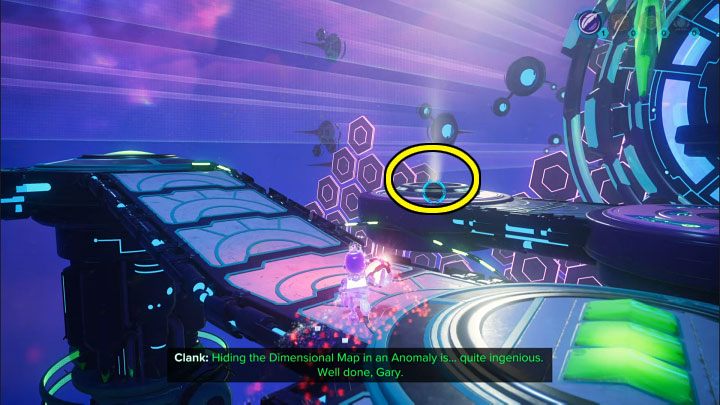
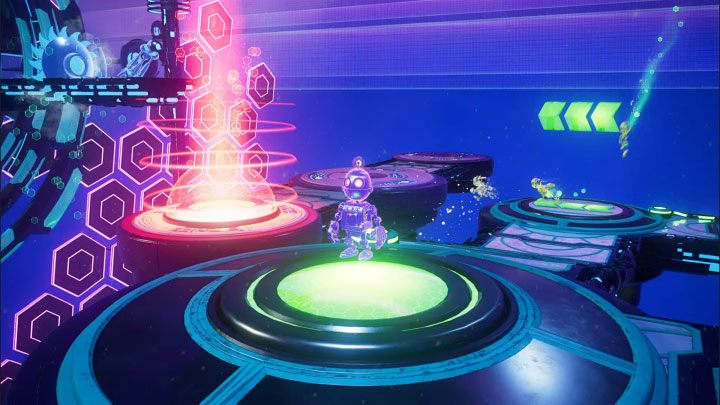
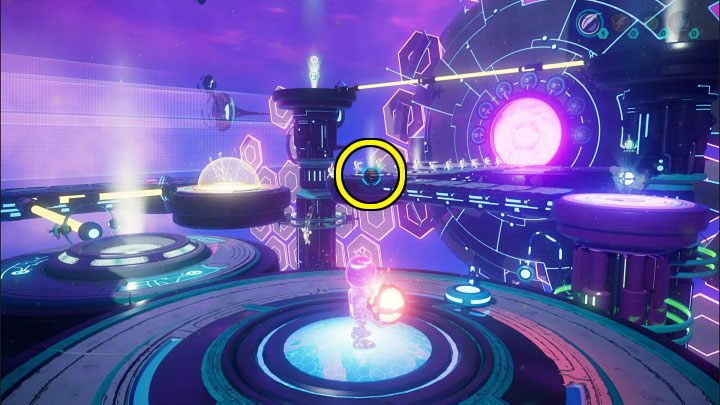
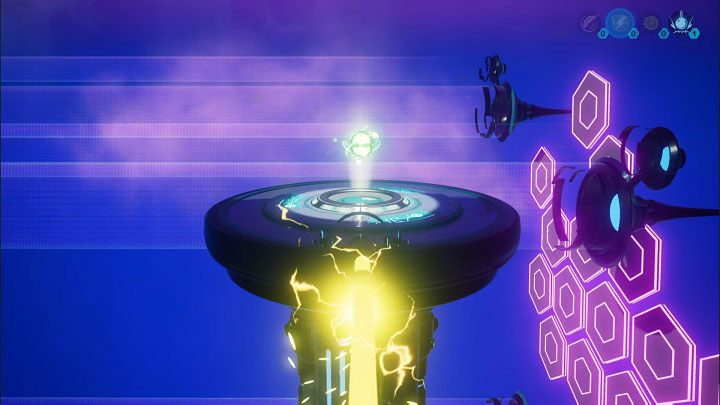
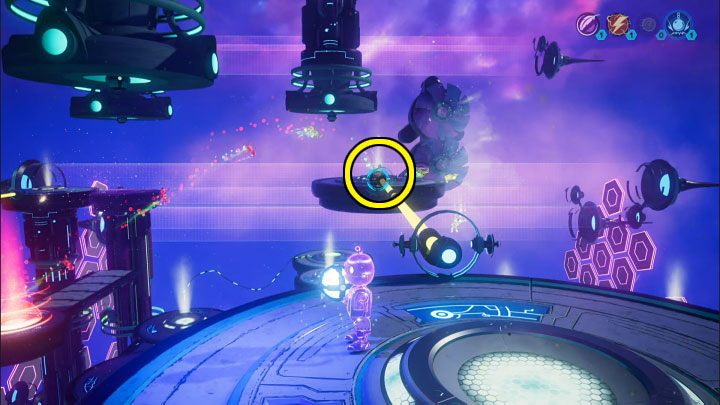
Eventually, you will arrive at the location in the picture. If you want to acquire the Dimensional Map, you will have to interact with the new anomaly and attempt Clank’s puzzles.
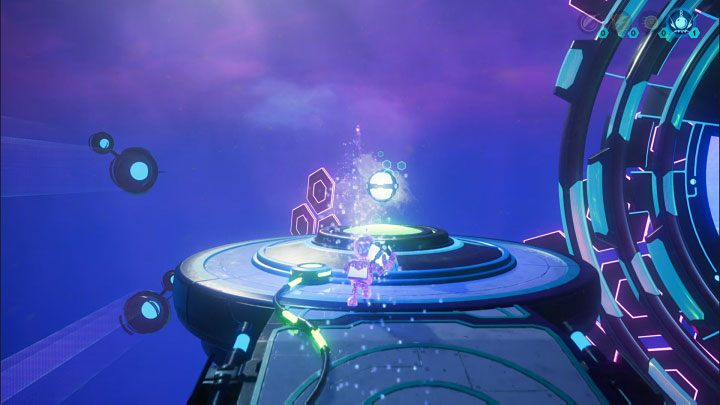
First puzzle

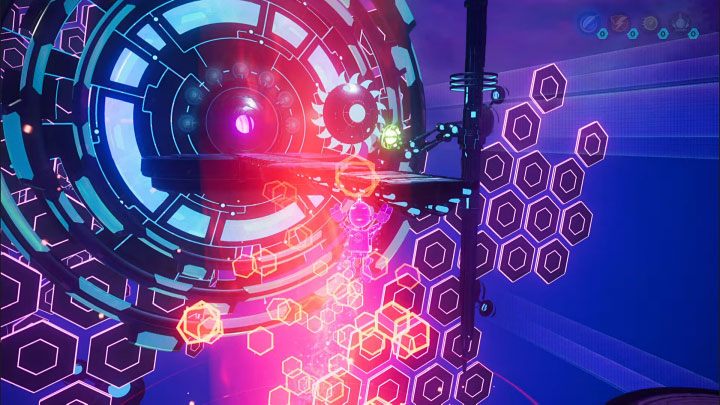
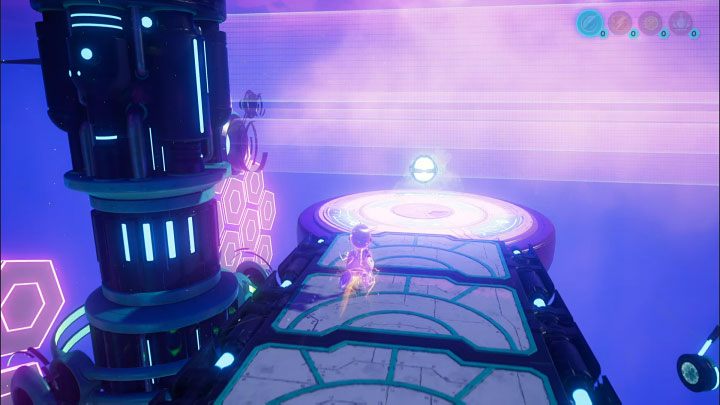
Start by doing a double jump over the chasm to land on the shelf with the Electric Sphere.
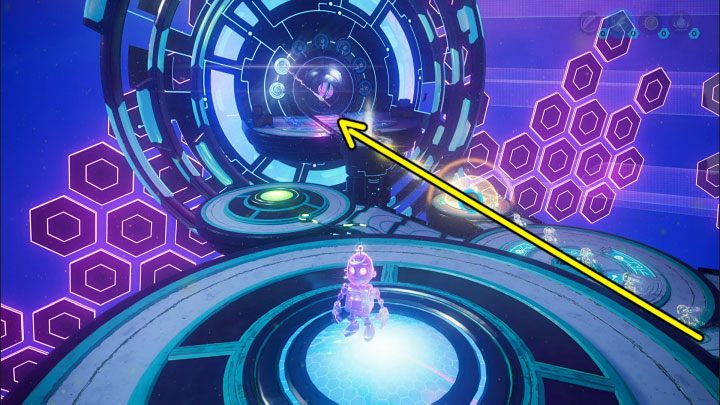
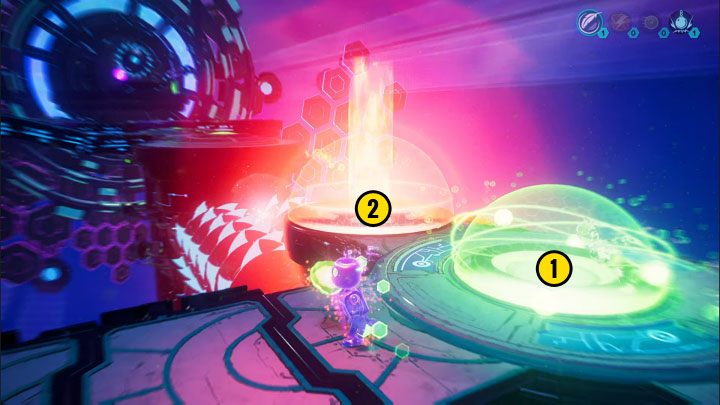
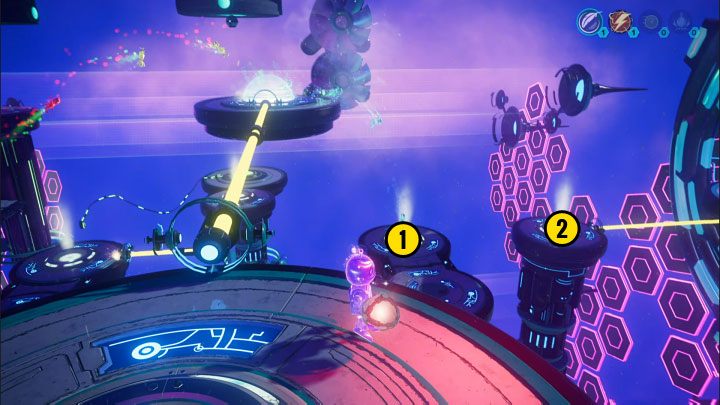
Immediately throw the electric sphere at the left generator shown in picture 2. This will rotate the whole platform you’re standing on by 90 degrees.
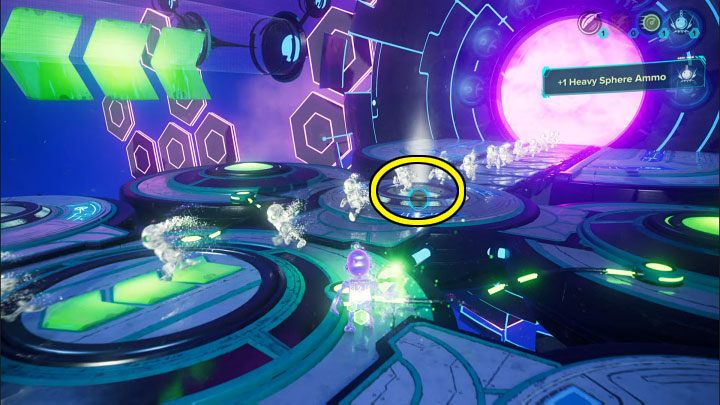
Go straight ahead to the place where you have to take the Heavy Sphere (picture 1).
A little further to the left is a second heavy sphere (picture 2), so you should currently have two in your inventory.

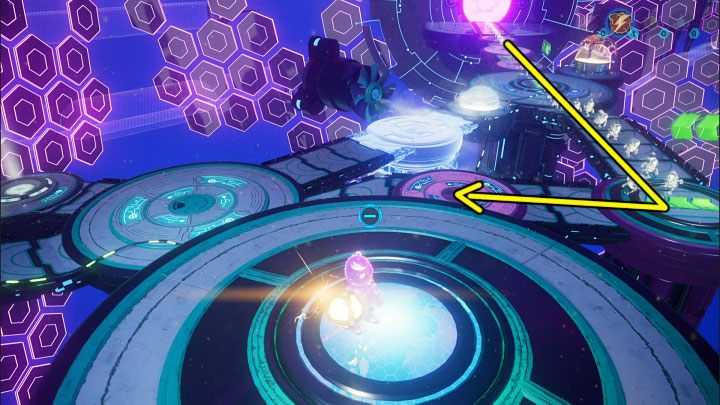
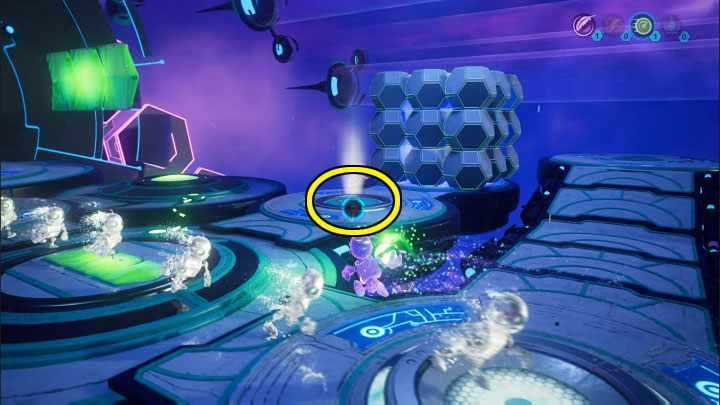
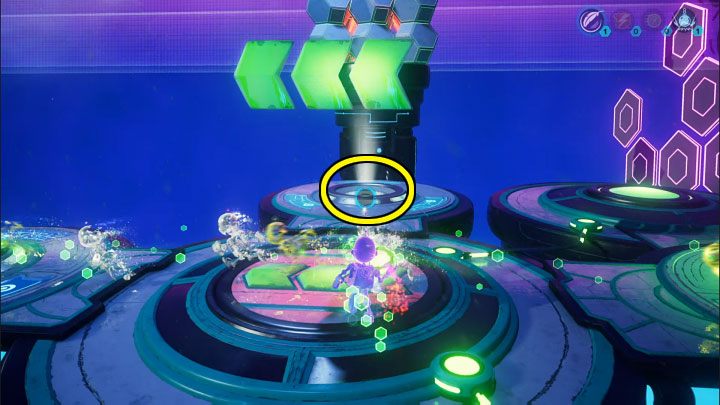
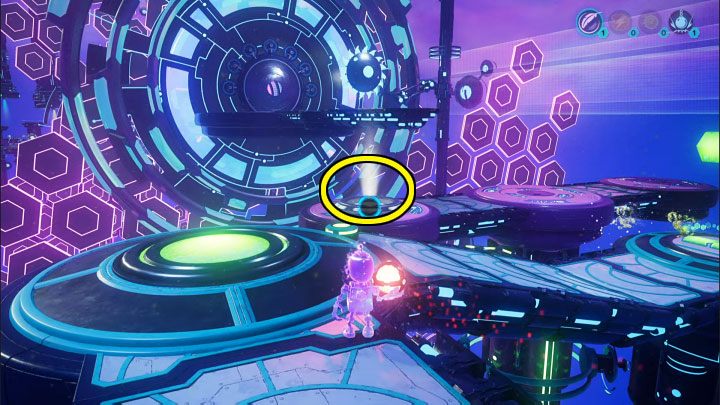
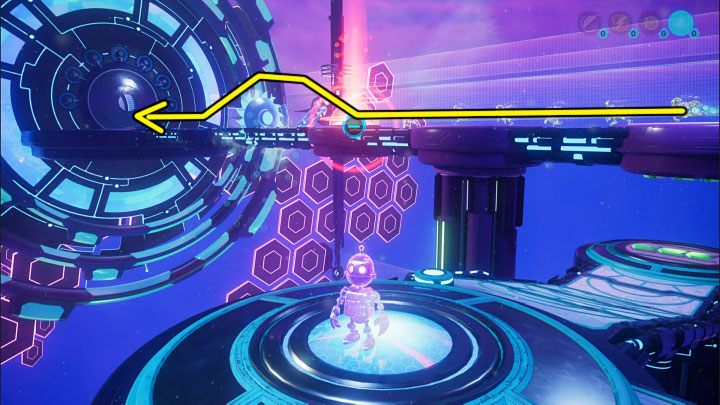
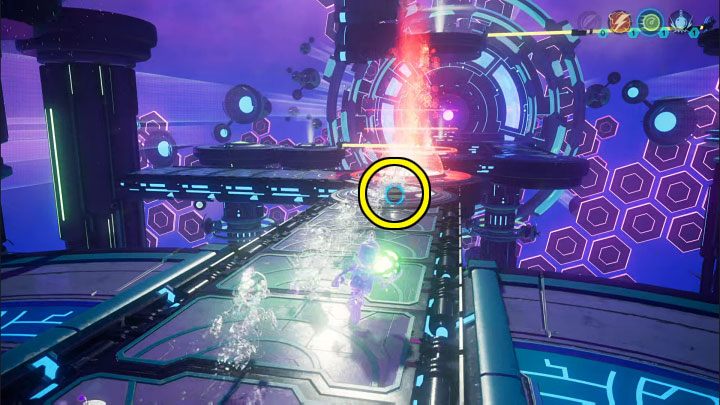
Turn 180 degrees where you picked up the second heavy sphere. Throw one of the them into the moving platform slot marked in the picture. This way, you will lower it.
Select the first heavy sphere you still have with you from your inventory. Stand in the spot visible in the picture (this will later be a rotating platform) and throw the heavy sphere into the marked slot next to the platform you just left. This way, running projections won’t be blown away by the running fan.
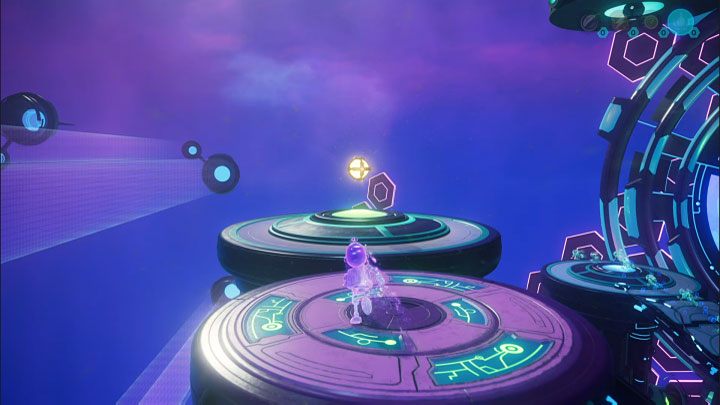
Stay still and wait for the projections to reach the pressure plate in picture 1.
The platform you are standing on will move. This will allow you to take the electric sphere from picture 2.
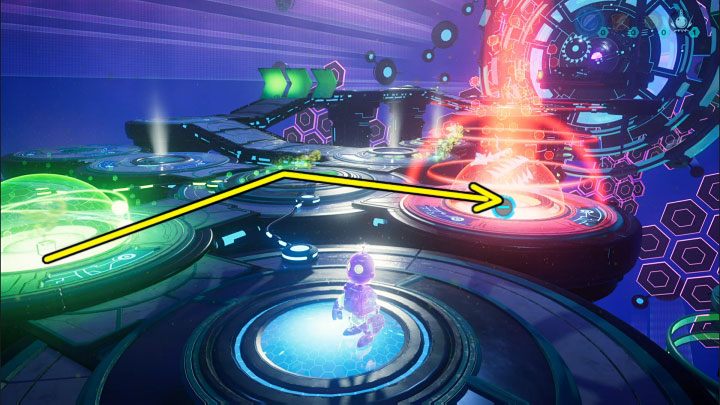
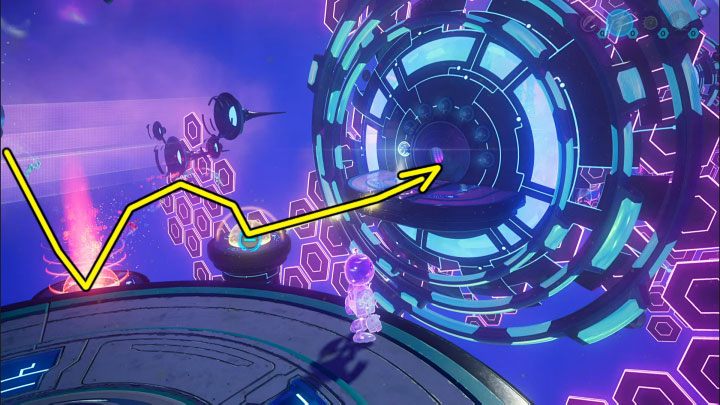
There is also a pressure plate on the shelf you took the electric sphere from. Stay on it and wait for the running projections to move the adjacent platform. Ultimately, the projections should follow the path shown in the picture.

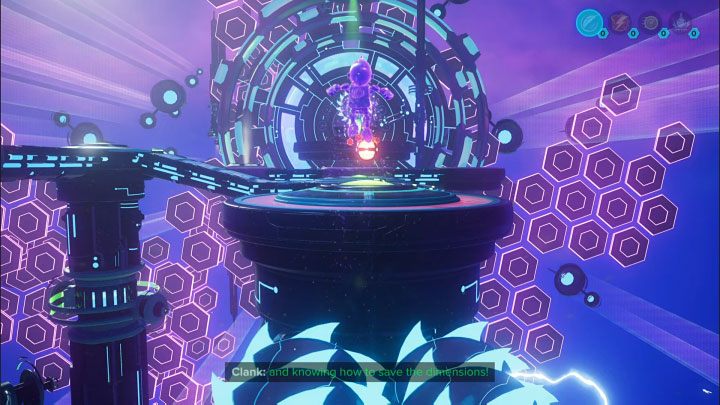
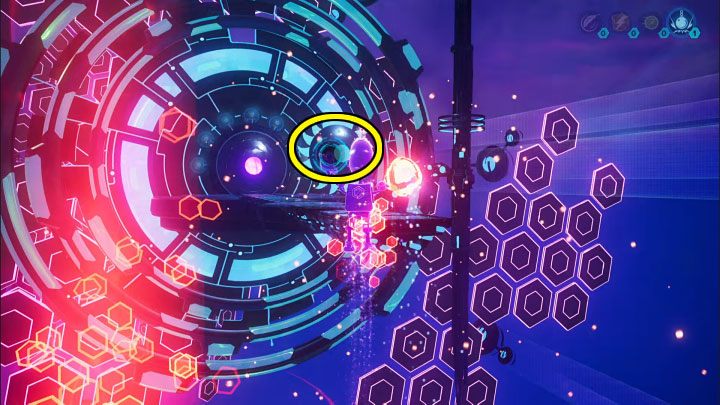
Remain on the pressure plate. Throw the electric sphere at the slot marked in picture 1. This will allow the projections to travel by the cable and reach the meta-terminal. Teleport once the exit unlocks.
Second puzzle
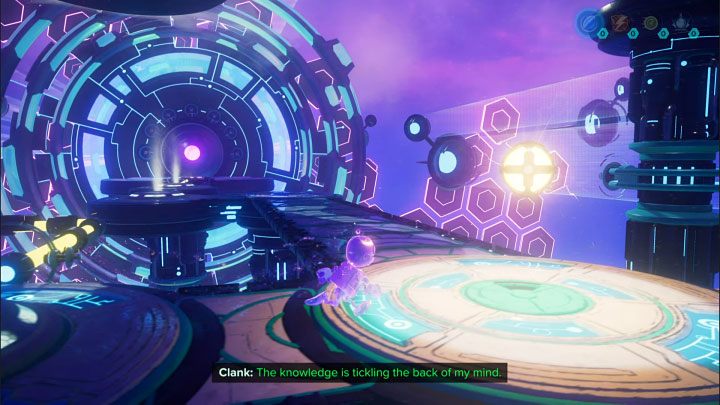
Go straight ahead and perform a double jump over the spikes to reach the Lift Sphere. You also need to watch how the pressure plate activates (it’s a short scene).
With the lift sphere, reach the slot in picture 1, which is to the left of the meta-terminal.
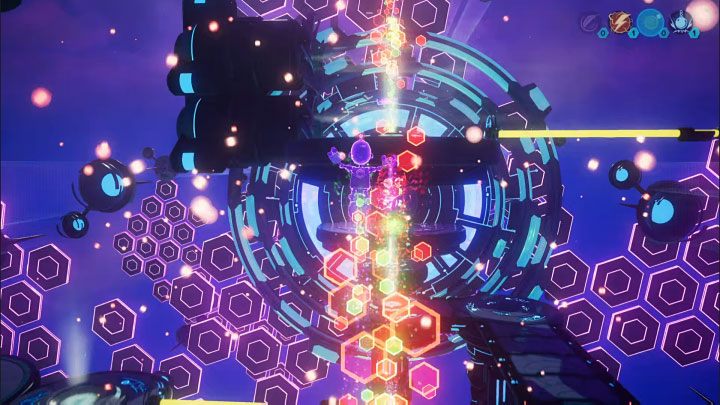
After placing the lift sphere in the slot, enter the red area to catapult Clank. Try to safely land on a higher ledge where you have to take the Speed Sphere – the location is shown in picture 2.
Go back towards the starting location, but on your way remove the lift sphere from the slot you used to catapult Clank.
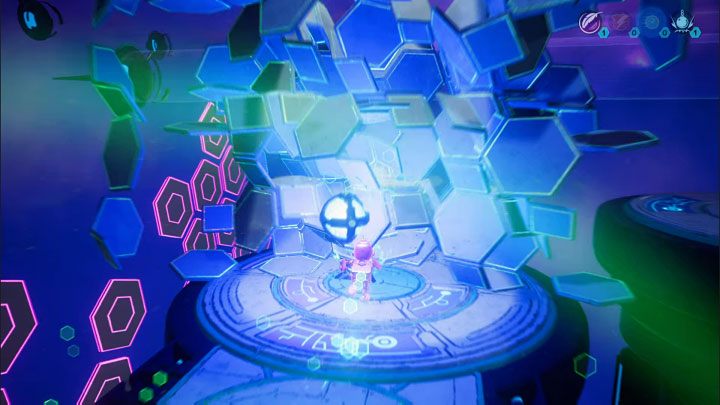
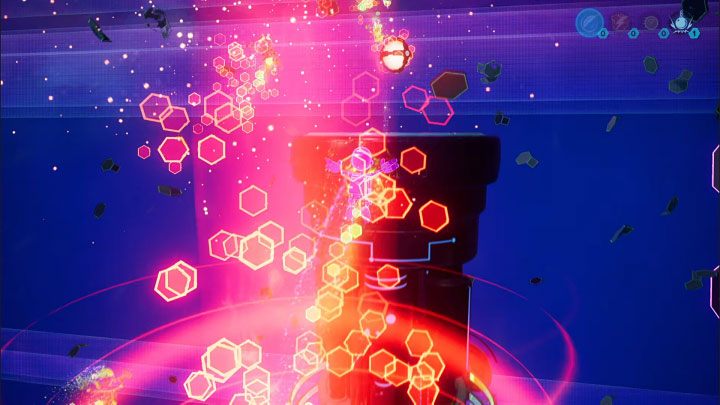
Use the speed sphere on the slot in picture 1, located near the starting point. Then, run through the blue area to break the blocks and find a heavy sphere.
Take the speed sphere from a nearby slot and throw it at the slot in the picture above. It is located right next to the starting point on the main path, and from now on, the projections will run faster.
Turn towards the slot shown in the picture and throw the lift sphere at it.
Now stand on the pressure plate from picture 1 to make the projections run in another direction. They must destroy the obstacles on the upper level.
Make Clank run through the red area and you will be catapulted to the top. You will find the second lift sphere there (picture 2)
Along the way, take the first lift sphere from the bottom slot and the speed sphere from the starting area. Ultimately, you should have 2 lift spheres and 1 speed sphere in your inventory.
Reach the main path near the spikes again and do the following:
The speeding projections should now make long jumps over the spikes.
Take the side path towards the meta-terminal. Throw the lift sphere in the slot from picture 1.
Catapult where you used the last lift sphere and throw the heavy sphere at the working spiked machine from picture 2.
You may have already reached the side pressure plate from picture 1. Standing on it will rotate the platform by 90 degrees.
If you did everything right, the projections will catapult correctly over the spikes and start hitting the meta-terminal. Wait for the exit to unlock and use teleportation.
Third puzzle
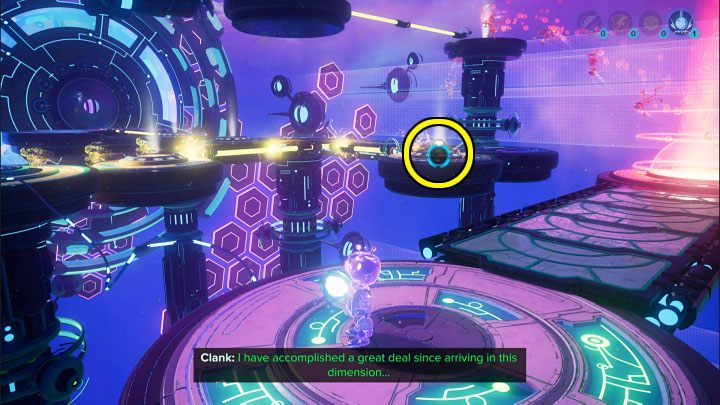
Go straight ahead, jump over the chasm and take the Electric Sphere.
You must place the electric sphere in the slot right next to it. Touch the cable and you will be transported to a shelf with a Lift Sphere.
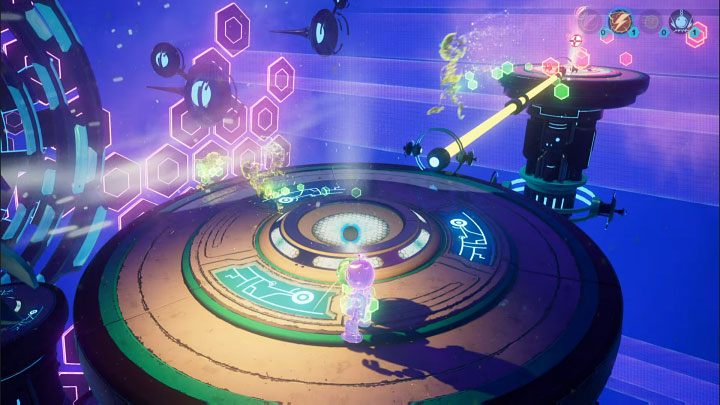
Make sure Clank is standing on the pressure plate at the lift sphere location. Throw the lift sphere at the slot marked in the picture.
Perform a double jump to return to where you put the electric sphere earlier.
Wait for the running projections to reach the pressure plate you were standing on a moment ago. This will lower the side platform shown in the picture. You can take the Heavy Sphere from it.
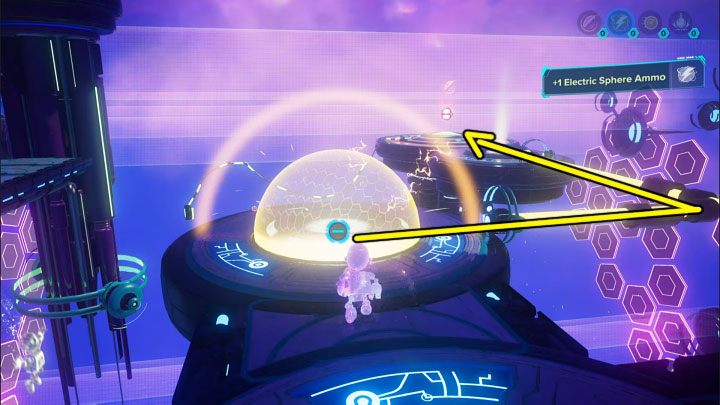
Remain in that location. Pull the electric sphere from the picture above to you and wait until the projections stop coming to the pressure plate.
The platform you are standing on will move upwards. Use the electric sphere on the new slot here (picture 1).
Touch the cable to move to the next shelf. You will find a Speed Sphere (picture 2).
Turn 180 degrees and pull the electric sphere you just used towards you.
Jump down to the bottom, next to the starting area. Place the speed sphere in the slot next to the lift sphere, as shown in the picture above.
Run through the green area to speed up, and then through the red area to catapult Clank to another high ledge shown in the picture.
There, use the electric sphere on the slot and touch the cable to transport Clank to the next platform. Another lift sphere is located there.
Once you got the lift sphere, turn 180 degrees and pull the electric sphere towards you. Don’t leave your current location.
Now throw the heavy sphere towards the same slot (see the picture above), so the catapulted projections won’t be affected by the fans anymore.
You will have to make two more throws from the same shelf:
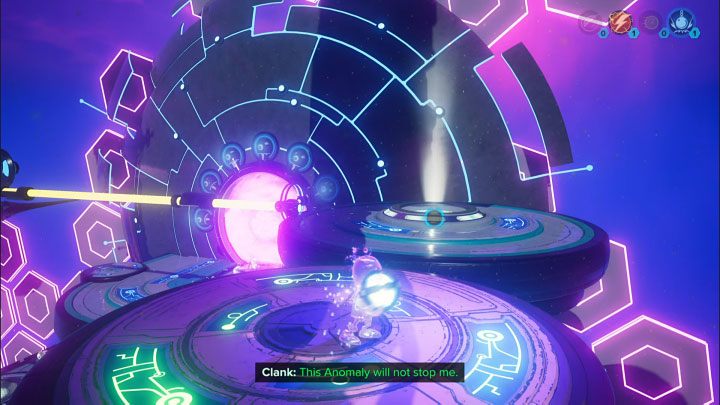
If you’ve done everything right, the projections should reach the last cable and then make their way to the meta-terminal to unlock the exit a moment later. Teleport to the final location of the stage.